A Coat of Arms on Calfskin with Gold Leaf

Sometimes, I am not able to show what I’m working on for awhile, because the project is being gifted to someone. Now, I can share this project with you. In November of 2021, I had a wonderful visit from Father Nathan and Father Philip, both from Mt. Angel Abbey, Oregon. Father Nathan oversees the art acquisitions at the Abbey. Father Philip oversees the guest house, but is also a calligraphy instructor. Needless to say, we all had a great time getting to know each other! They came to hire me to create 2 Coat of Arms. One to hang at Mt. Angel Abbey and the other to be gifted (July 2022) to Westminster Abbey, British Columbia, which was founded by some Brothers/monks from Mt. Angel, back in 1939.

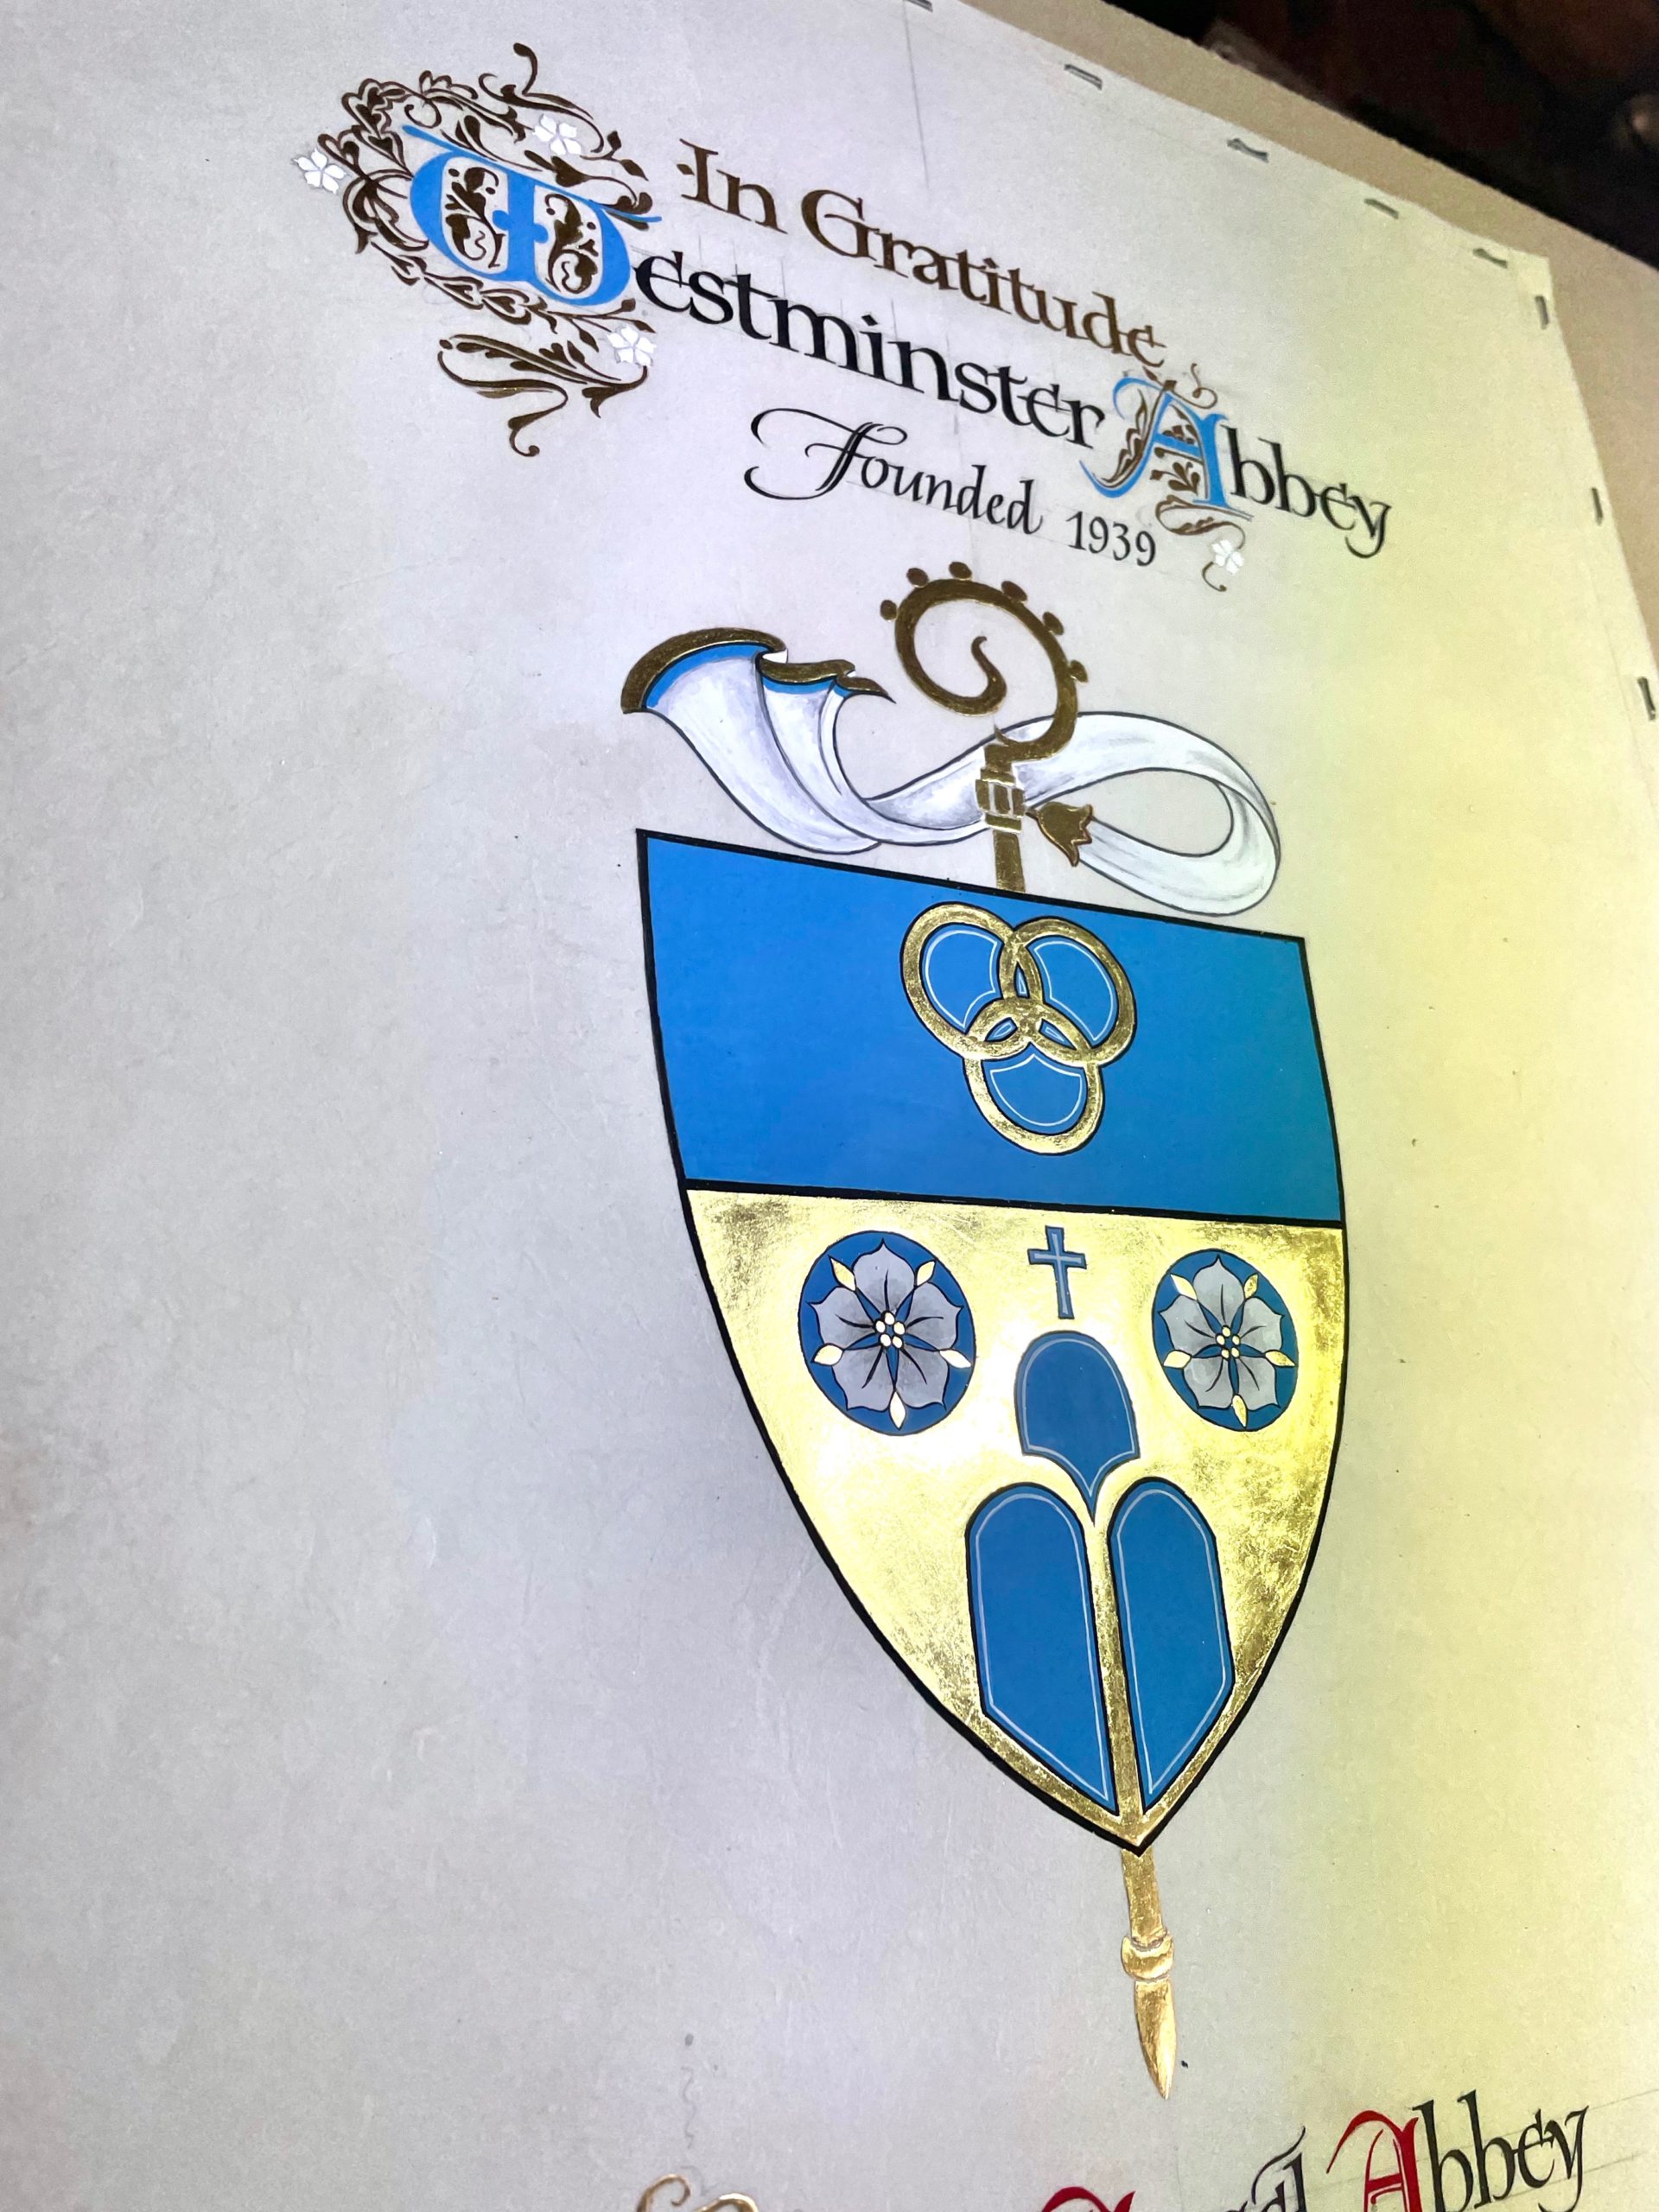
Above and below. These broadsides were created on genuine calfskin (aka vellum) with genuine 23.75 gold leaf, gold powder plus watercolor and gouache. They are about 3′ tall and about 2′ wide (from memory, not exact). In this first picture above, I have already sketched the design on tracing paper and transferred it to the hydrated and stretched/mounted calfskin. The dark pink color is gesso, made from the Italian Cennini recipe made right here in my studio. (If you would like to join a future workshop, sign up on my eNewsletter or email me.) There is quite a process to laying the loose leaf gold. As you can see, I lay down the gold before I paint the color. One of my agate burnishers, used to polish and shine the gold, is also visible in these first two pictures.

In the picture above, you will note that I have laid the gold leaf (beat to 1/300,000 of an inch in thickness) on the decorated letters and ‘In Gratitude’ meant to emphasize their appreciation.

The pictures above and below show the staples that I use to mount the skins to the board. I learned long ago to stretch the skins on a wooden frame, but I didn’t like it when my hand went off the side of the artwork and if the frame sat up too high, so I decided to hydrate the skins and staple them to a board. If they are put in humidity for an hour or so and then stapled, they will stretch as tight as the skin on my banjo….or ‘tight as a drum’ as the expression goes. If I don’t do this, I run the risk of my lines of lettering being a bit ‘wavy’ due to the cockling of the skin.

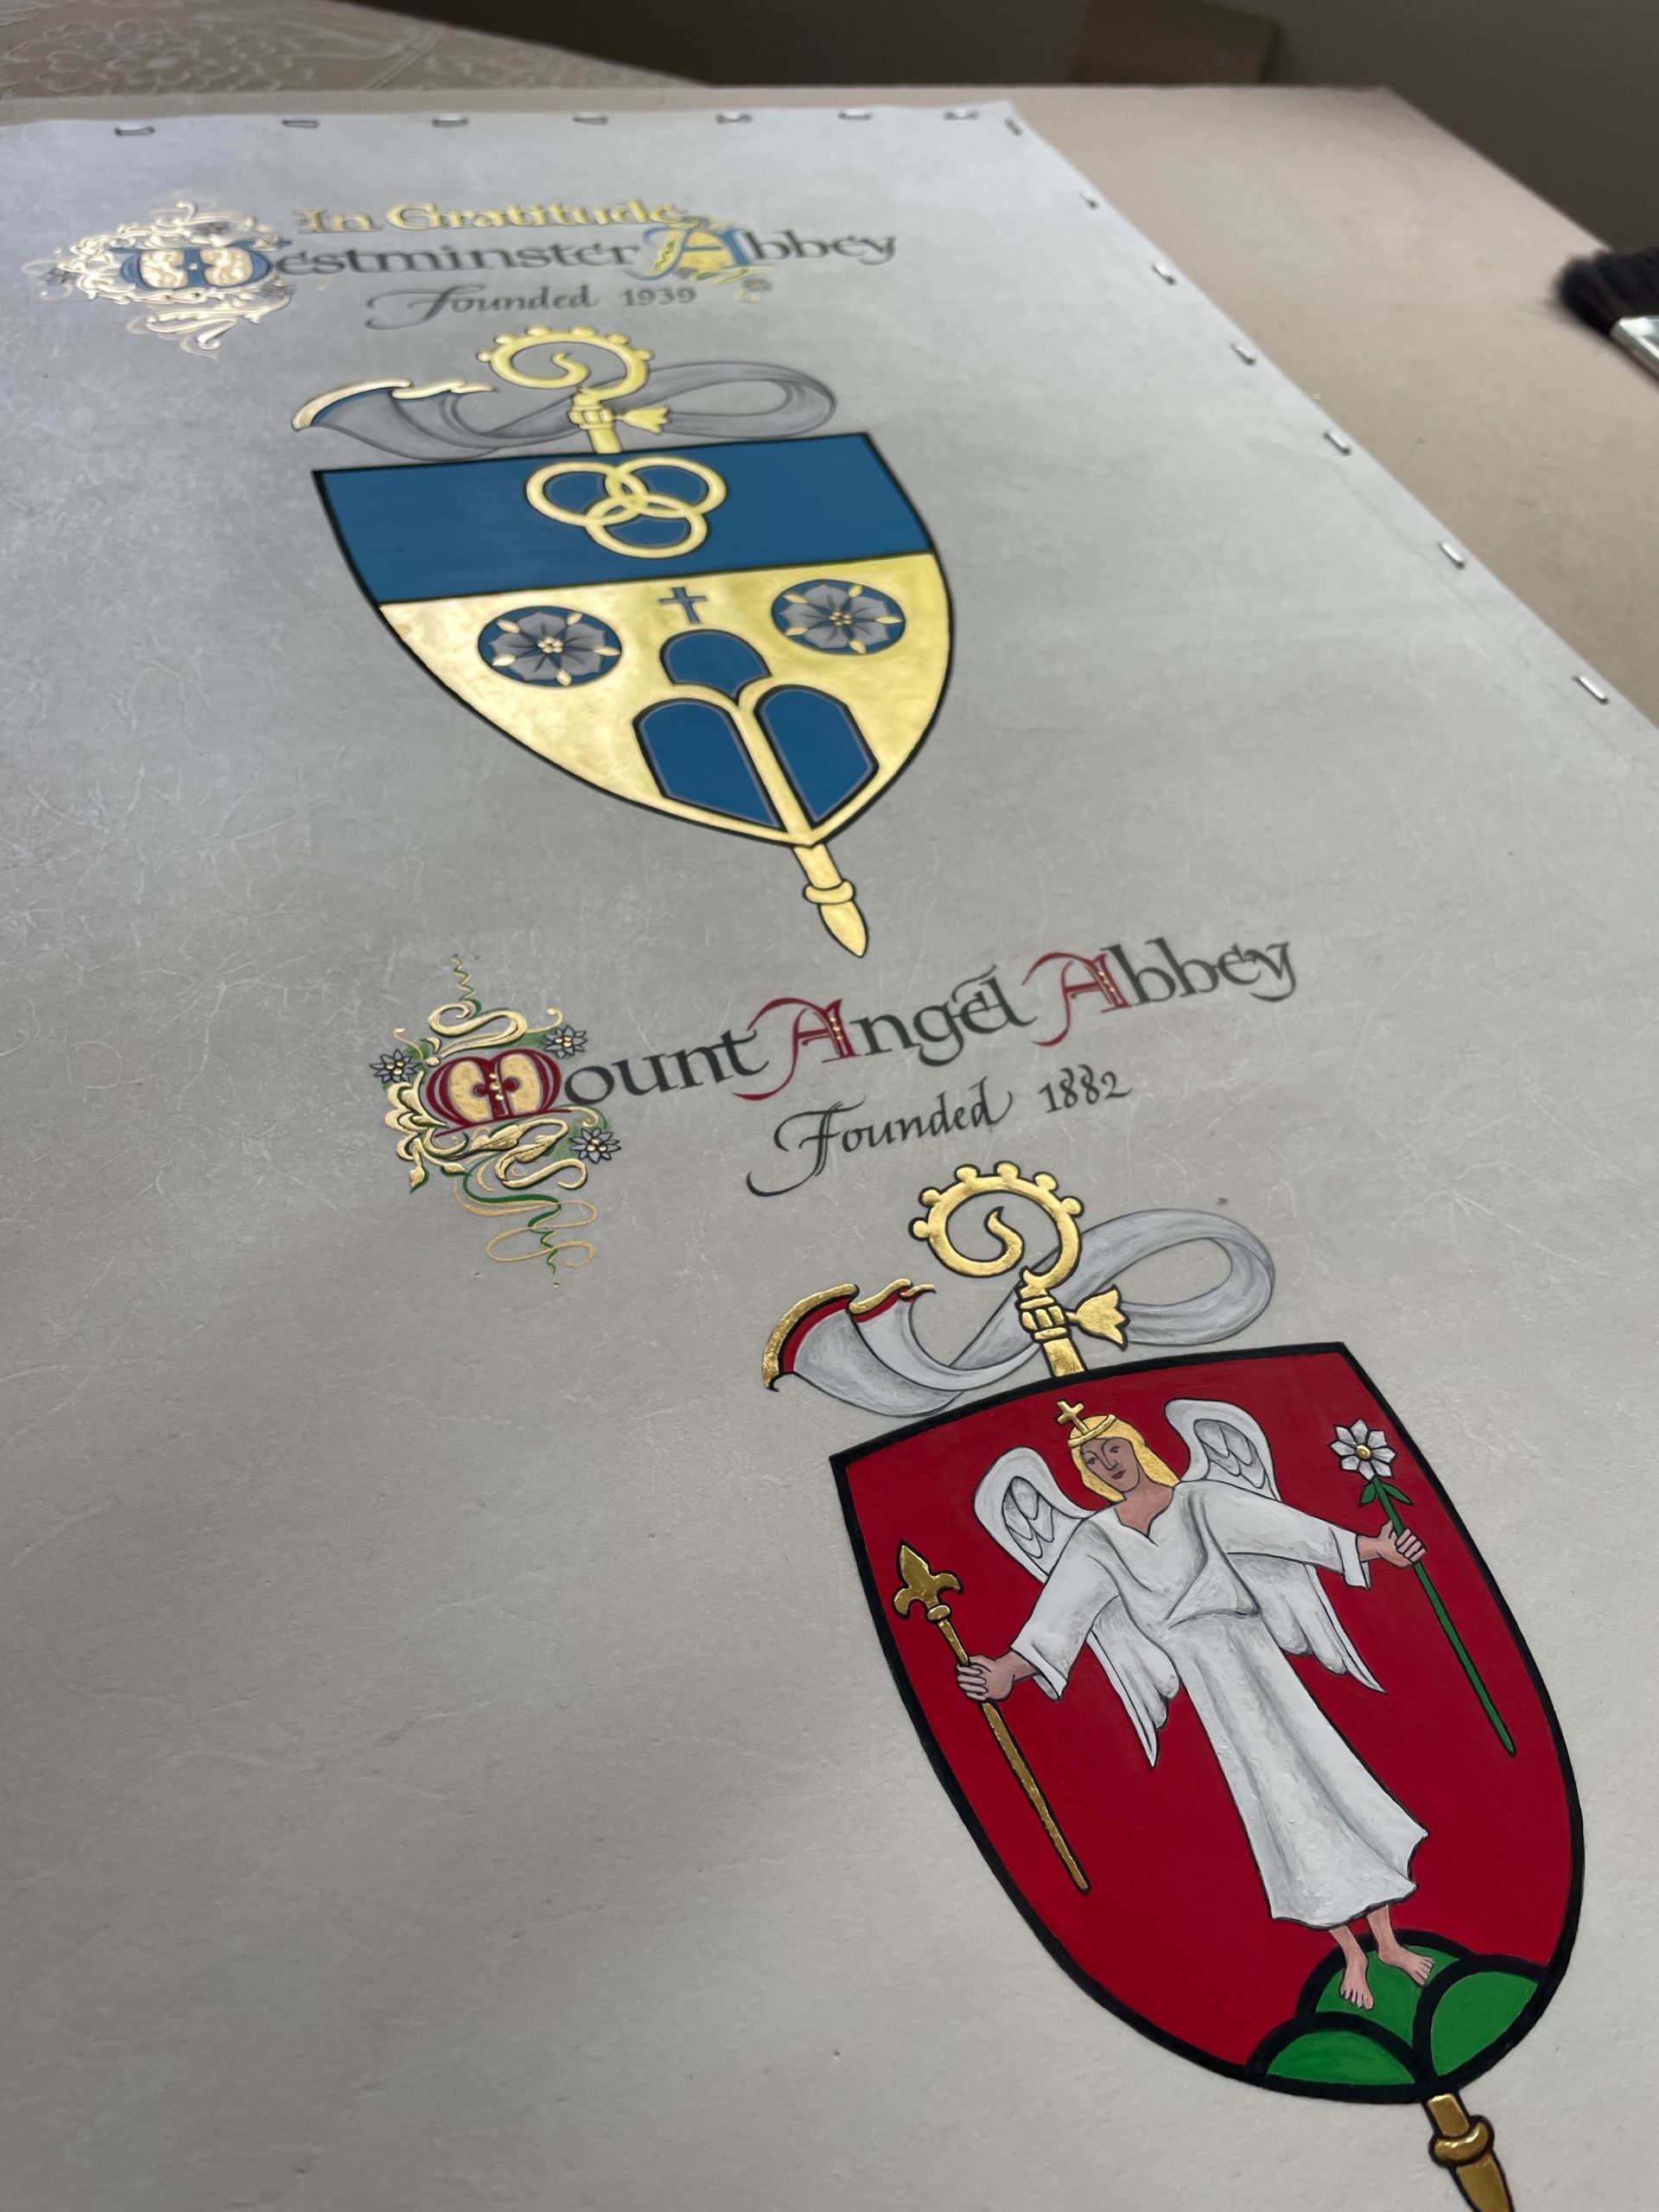
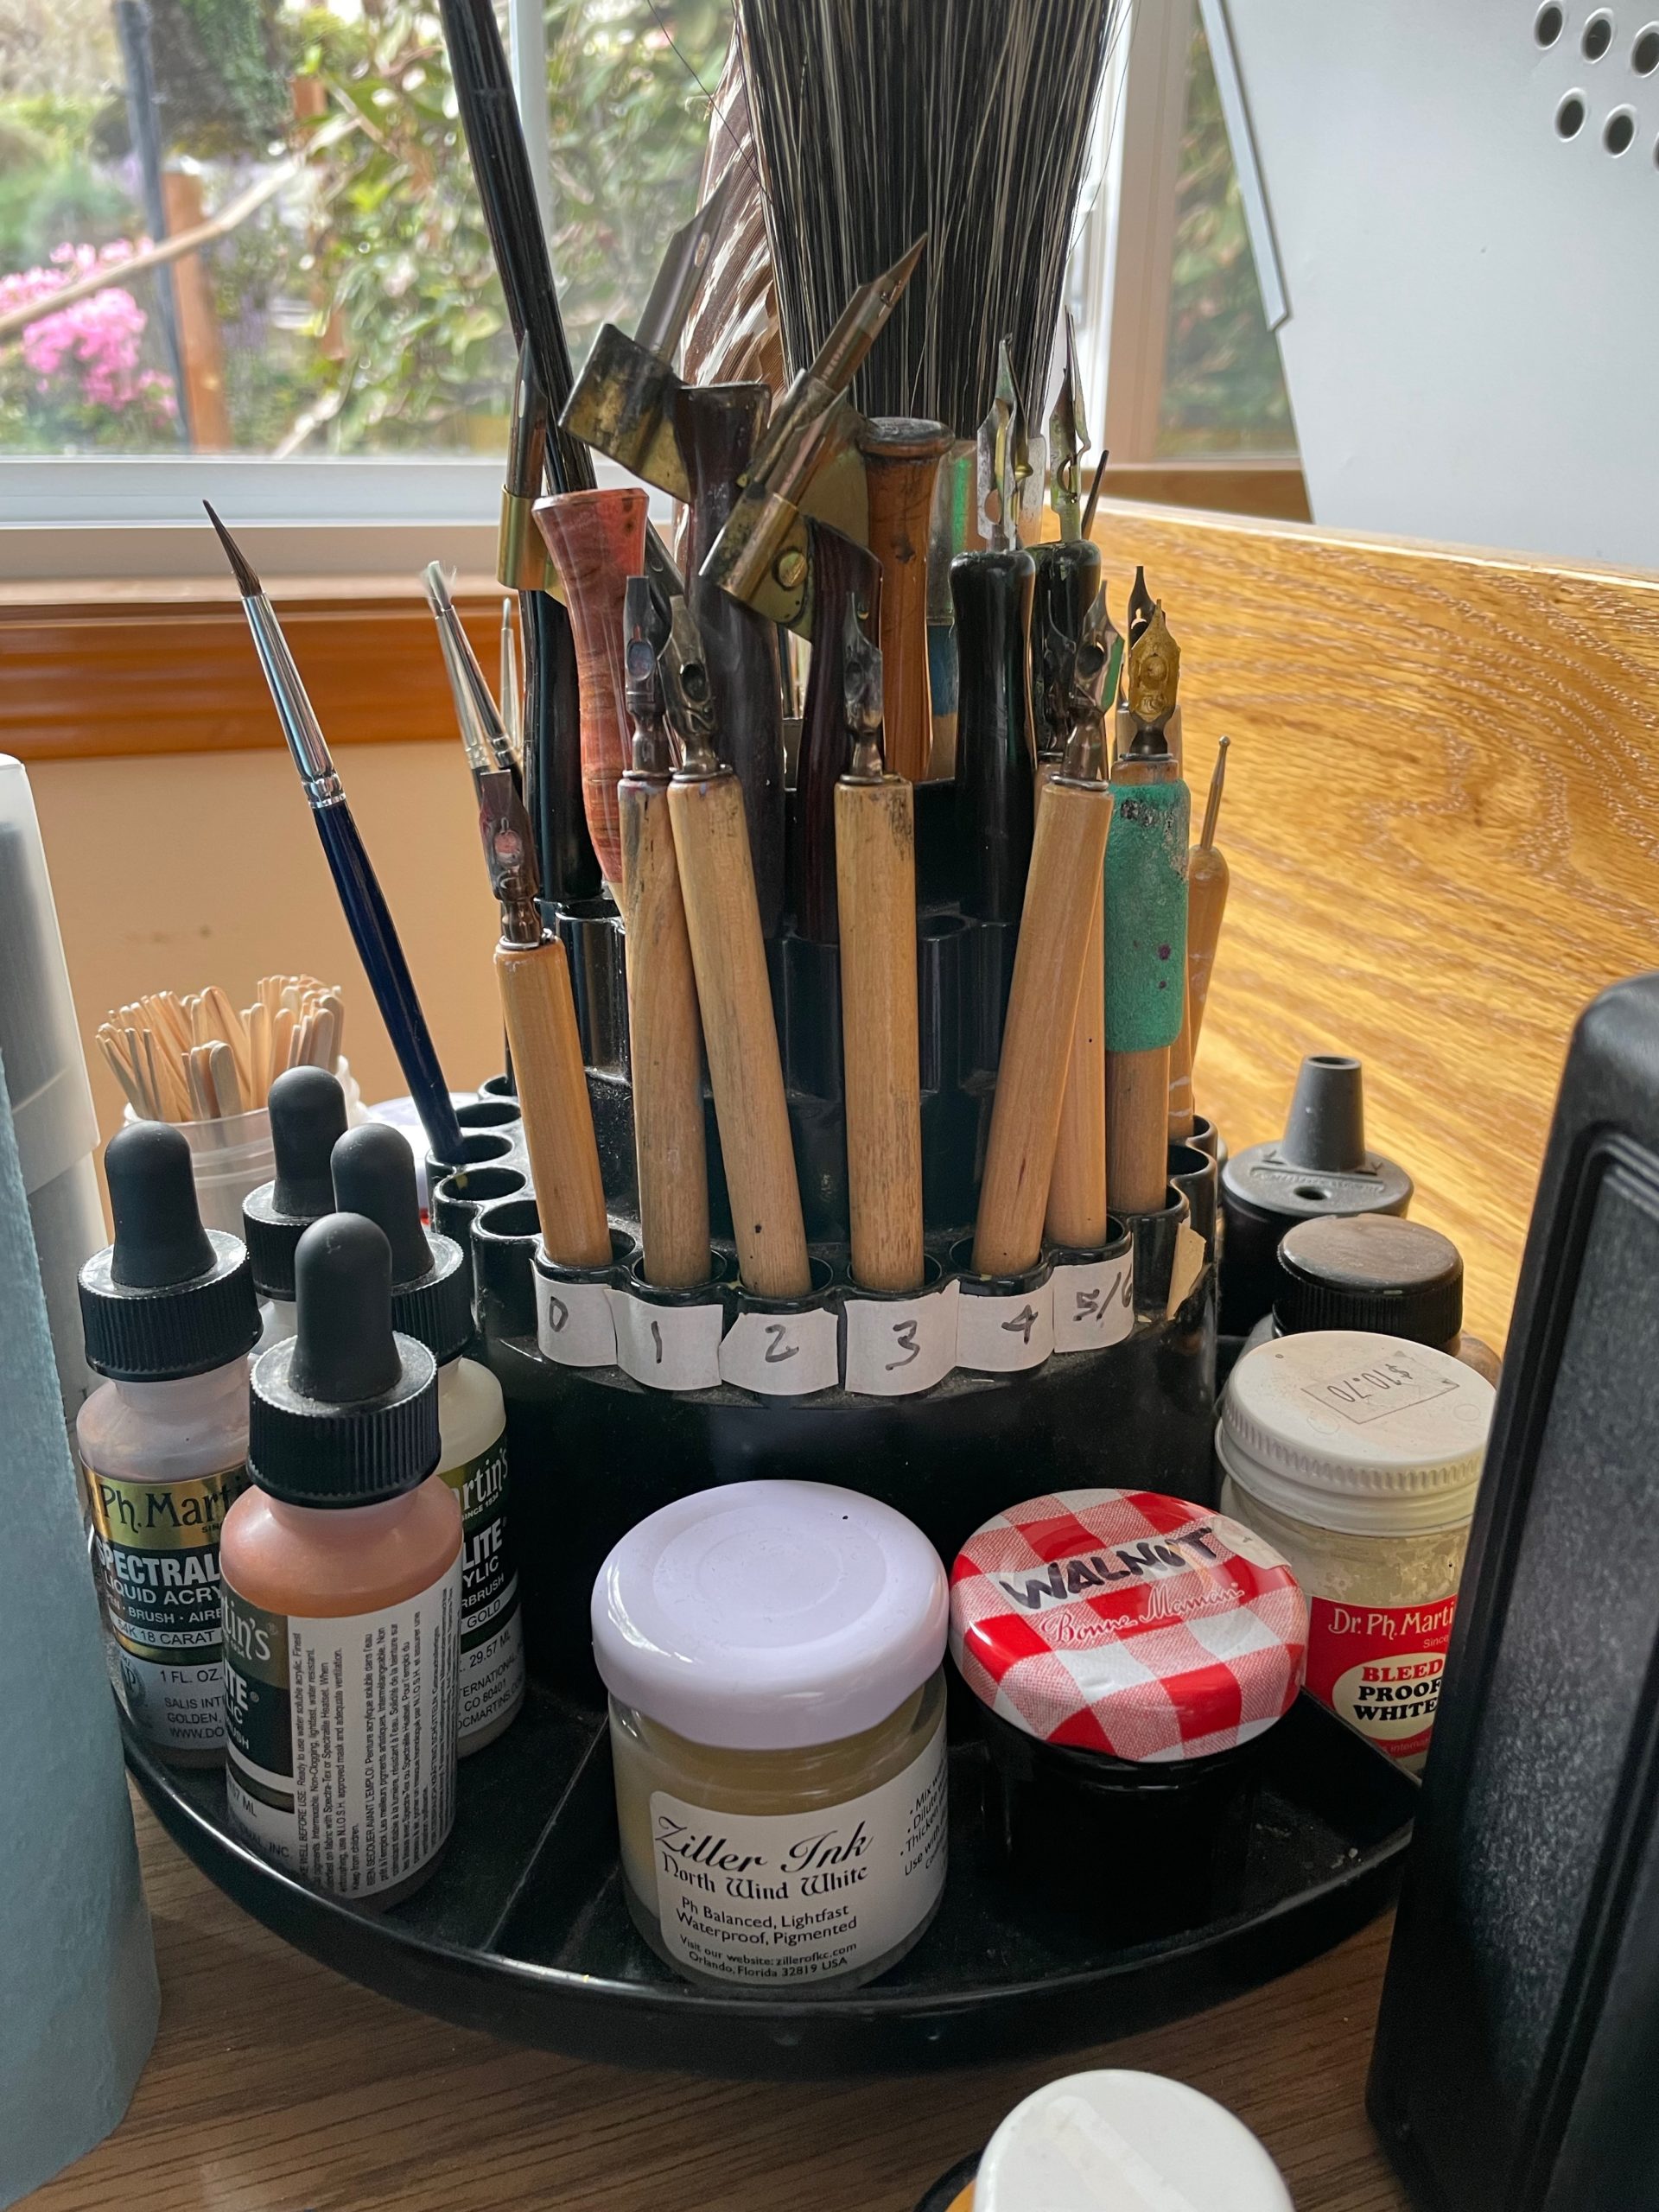
This photo was actually taken from the left side. I rotated it right so that you could see the art upright. It shows the finished art and calligraphy along side my watercolor mixing florets. I followed the already established designs that had been created for the respective Abbey shields, but added some shading for dimension as well as the Veil & Crozier. The crozier also spelled crosier, I learned is carried by the Abbot at Mt. Angel as a symbol of “The Good Shepherd” and his ecclesiastical office. The veil on each shield is symbolic of the sacramental veil.

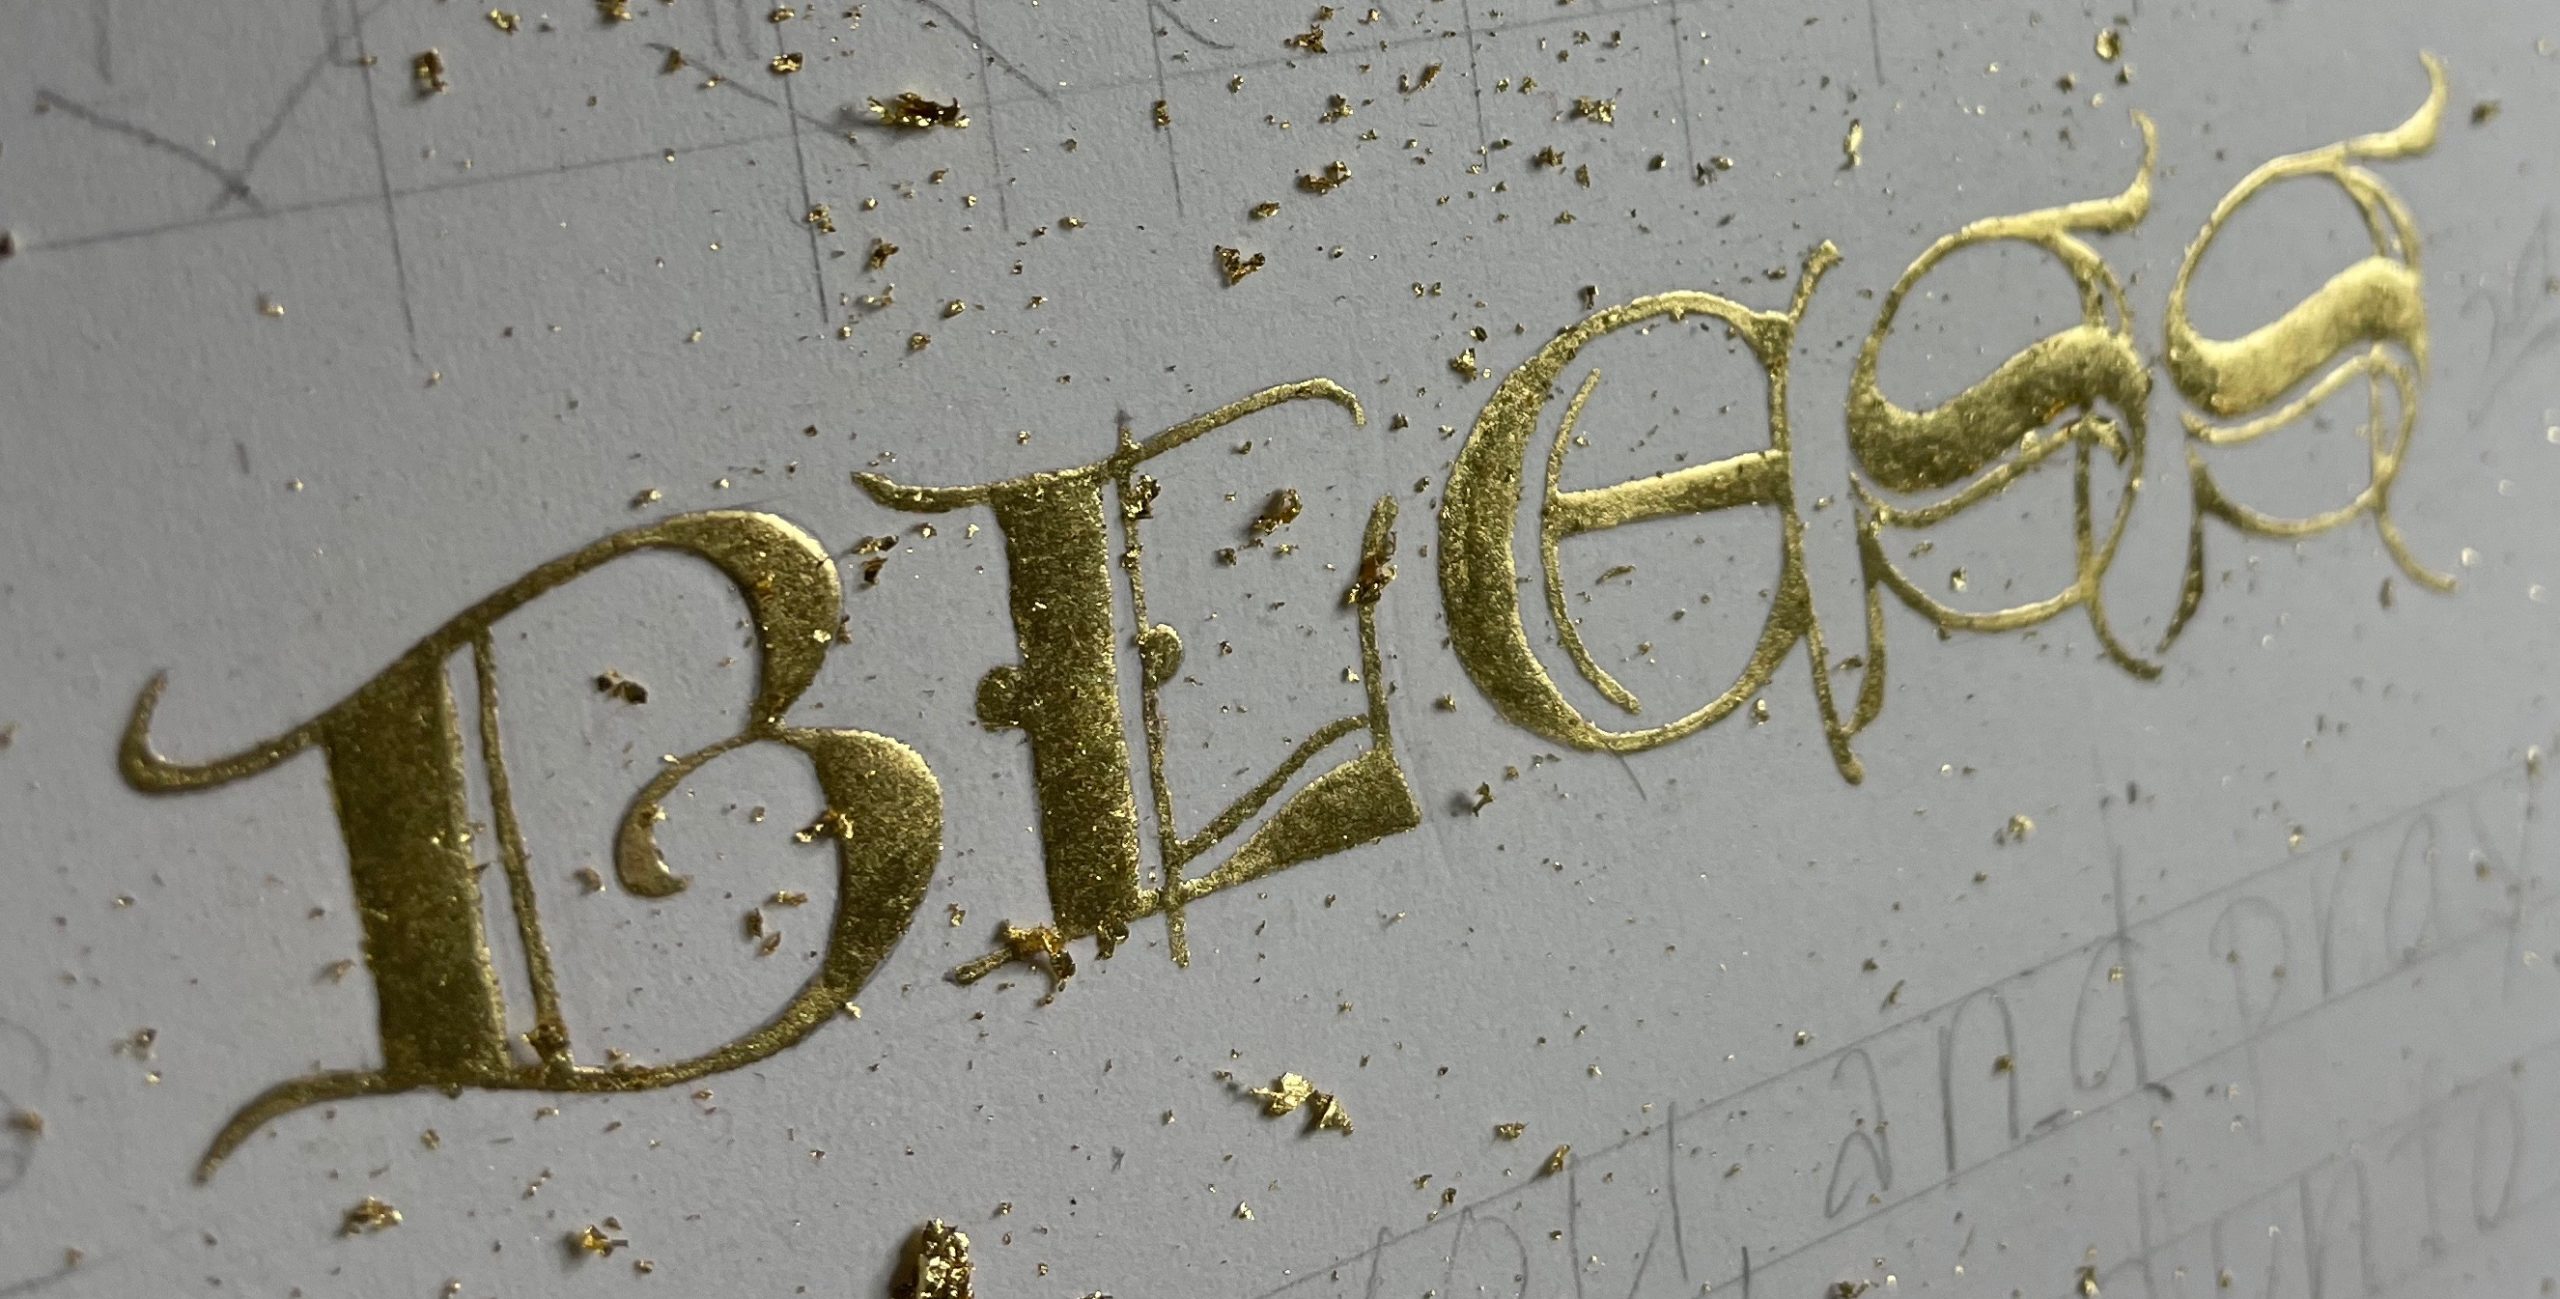
Below, a close up of one of the decorated letters. The raised gold is obvious and the gold powder lies flat in contrast. (it is liquified so I could paint it on gives a nice contrast inside the W.)

I love the subtle texture in this skin. It was one large one, that I cut down for these 2 documents.

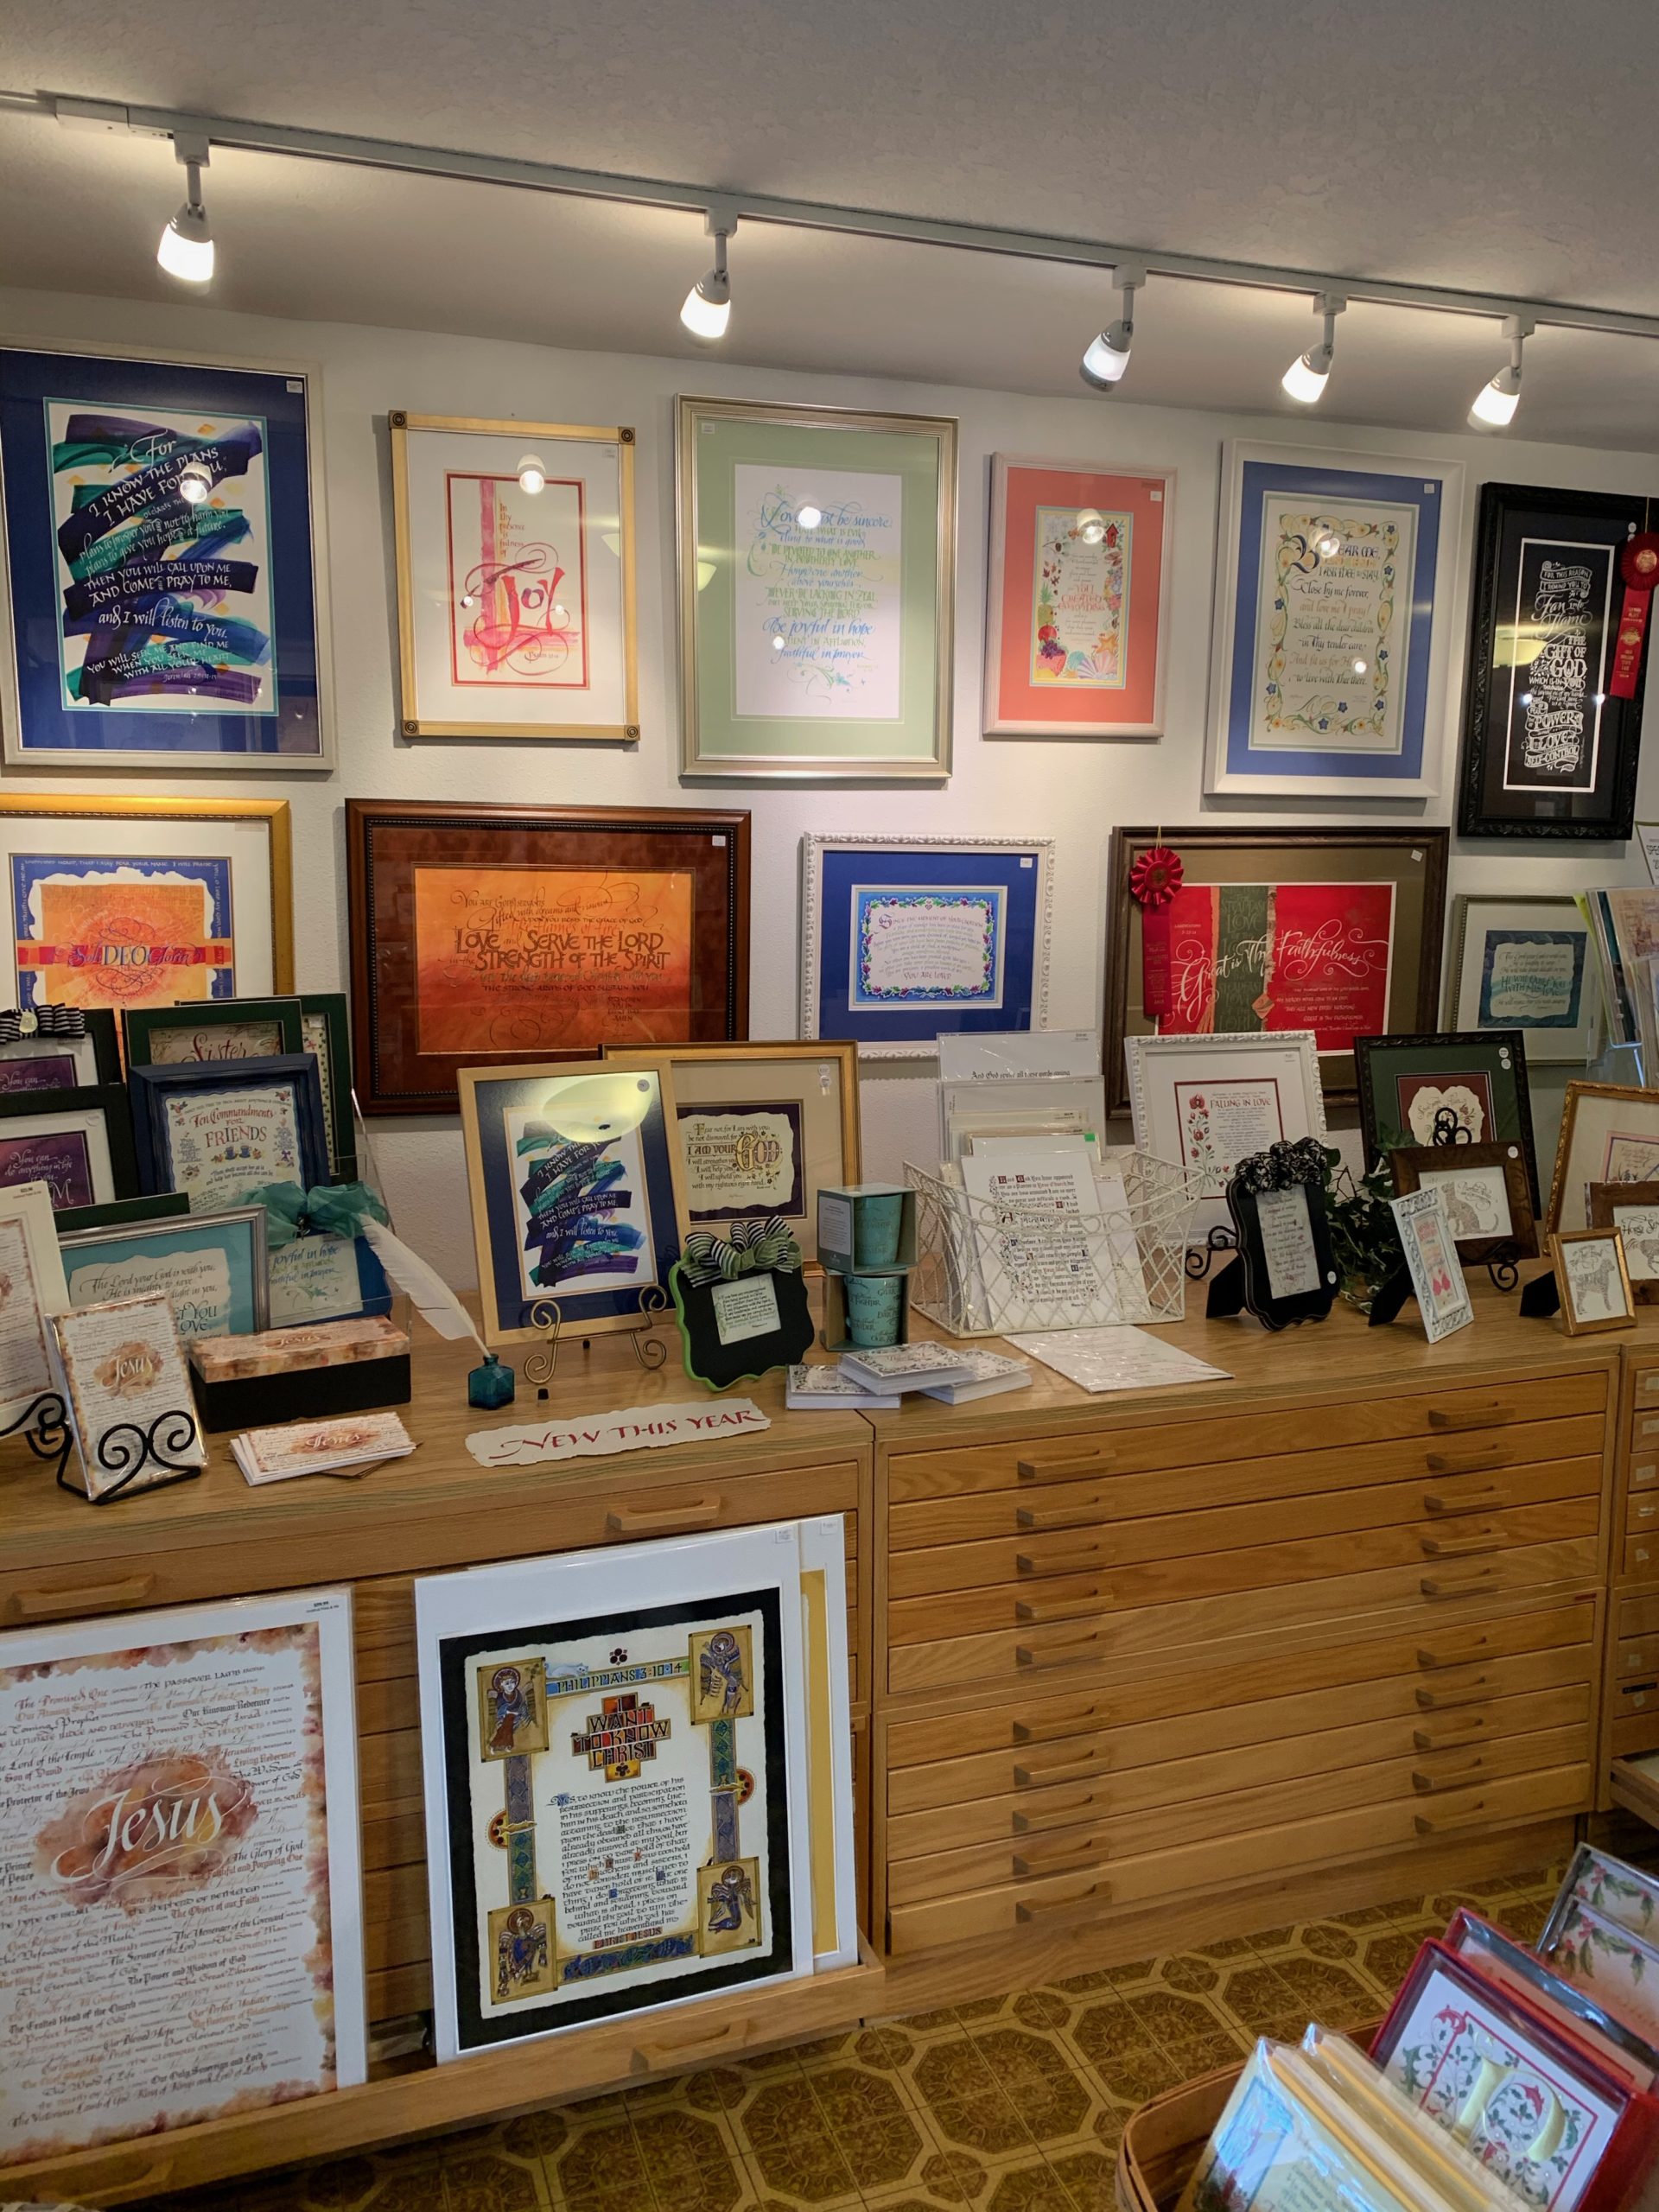
Above you will see how I mount calfskin. Note that calfskin will not lie flat, but can be held taught with the eyelets and threads. I teach this method in my revised Lettering on Vellum workshop. (It is not in the pre-recorded workshop from 2021. This one mainly covers preparing the skin and lettering on it). BELOW: the two hand created images, framed and read for delivery. They have a carved outer frame and an off-white linen mat with a black wood filet. If you visit Mt. Angel Abbey, Oregon, you will be able to see one of them hanging in one of their meeting rooms.

Portland Open Studios 2022 October 15-16, Saturday & Sunday 10-5:00

Hello Friends!

October 15-16 (Saturday & Sunday) is the final weekend of Portland Open Studios. My studio is open 10:00-5:00 both days, and YOU ARE INVITED. Take a look at 2 rooms full of calligraphy for sale as well as DEMO’s, a digital presentation of the last 3 years of my work and a table for trying out the pens. For those interested in learning calligraphy, I have a handout full of my workshops, books and suppliers and a free exemplar that you can take home to work on. (SCROLL DOWN, FOR WEBSITES & ADDRESS). Adults, kids & grandkids welcome…..see below…..I’ll even handletter your names!

If you can’t attend, please go to www.HollyMonroe.com > CONTACT and sign up for my monthly eNewsletter. Indicate if you are a Shopper or a Calligraphy Student or both, as I have 2 eNewsletters.

On my back deck, I have a table with numerous pens for you, your kids or grandkids to give calligraphy a try, plus some cider & treats. Ask me about the handwriting book that I recommend! Kids should learn script or they miss a part of their neurological development. These two polite and enthusiastic little boys were inspired to work on their calligraphy. They loved the turkey feathers used to make quills. Great Weather!

Fantastic Flourishes Workshop

This gallery contains 7 photos.

June 4-5, 2022 – 10-5 EST – Instructor Holly Monroe – Online My second Fantastic Flourishing (broad-edged pen) workshop is coming up. Some have asked, why in the world do calligraphers flourish? Well now, that’s a good question to ask. There is just something about beauty, something about decoration and detail that delights the eye. […]

POINTED PEN VS. BROAD EDGED PEN CALLIGRAPHY

When I ask a client if they have a favorite lettering style, they often answer “I want calligraphy”. As I have learned, calligraphy is the umbrella word for lettering created by hand. It is defined as “the art of beautiful writing” and it encompasses many different lettering styles. That said, when a new student comes along and wants to learn ‘calligraphy’, I ask them, do you want to start with the pointed pen or the broad-edged pen. Many don’t know how to answer. They didn’t realize that there are two different basic types of pens that they can start with.

“Ostinato” in stylized script and “Love” in the Old English style on a handmade ‘paste paper’ background

When I was in high school, my father, Cliff Mansley, Sr. a former Zanerian student, started me off with both. I began learning Engrosser’s Script with the pointed pen and Old English with the broad-edged pen. The pointed pen that I use is known an oblique pen holder, (sometimes called an elbow pen) it can hold a variety of different pen nibs. April 23, 24, 30 and May 1, 2022 I am teaching a Pointed Pen Pizazz workshop – stylizing your lettering and flourishing via The Gentle Penman . Please sign up and join us, even at the last minute! I find that having a variety of these holders is helpful. I began with one, but because pen nibs come in various sizes, I soon purchased (or inherited) others. This way, I can keep the nibs that I frequently use, each in their own penholder. Below is a picture of a few of my oblique holders. From left to right: Sull pen, Hourglass Adjustable Oblique (you can tighten or loosen the screw) from Paper & Ink Arts, Đào Huy Hoàng pen made the pink/ivory pen from “Holly” wood (that’s why I bought it!), next a Bill Lilly pen gifted from David Ogden, 3 Zanerian pens (light wood from my father, dark wood from Steve Ziller, black plastic Zanerian). I should buy one of Heather Held’s beautiful handpainted holders to enhance this photo!

Pointed pen lettering looks something like this….with many variations!

The broad-edged pens that I use are in the picture below. I love to use the wooden double-ended holders because the Mitchell pens that I use are labeled 0, 1, 1.5, 2, 2.5, 3, 3.5, 4, 5, and 6. I can use 5 holders which keep all 10 pens at the ready for me to use daily.

Broad-edged pens
Mitchell pens in double ended wooden holders. Purchased through John Neal Books.

Below is a sample of broad-edged lettering. In this case, Italic. I’m teaching 2 Fantastic Flourishing workshops (with the broad-edged pen) this Spring 2022. One in Albuquerque and the other in Pittsburgh. Pick a class that fits your time zone! That first link goes to John Neal where you can buy supplies. You can also go directly to Escribiente for the Albuquerque workshop or to Karen Roberts, Karigraphy@gmail.com, for the Pittsburgh workshop. Keep reading….

Finally, I have a wonderful turntable pen/brush holder, so that I can easily find my pens. Note that I have labeled the sizes, for easy retrieval while I’m working. May God bless your life and I hope to see you in an upcoming workshop!

A Calligraphy Manuscript from Luke 6

A little bit about the process….whether you are a client or a calligrapher, this will give you a peek.

Above, is the finished piece for my client. It is a verse that I read and meditated on throughout the project. In our then 2021 world, that was/is so very split, it was a challenge to mull over. How can I live this out? Love your enemies? Do good? Be merciful? Forgive? Could you imagine what the world would be like if we followed this?

Back to the artwork. Below…is my pencil sketch on tracing paper where I also indicate to the client, the color placement. The final pencil image was transferred onto the D’Arches HP 140 lb paper. You can improve the lines on the final. Just outline the vine. A light table makes it quite easy to transfer…(I have an extra light box that I’m trying to give to an artist or calligrapher…send me an email and I’ll send you a picture of it.)

On the final, first, I lay the gesso (base) for the gold leaf. It has a flesh tone, or pinkish color depending on how you tint it. I make my gesso from the original Ceninni recipe, guided by Jerry Tresser’s insights. It is like plaster, and can be repaired as you are working with it. Carved, shaped or sanded, it is more forgiving than some gold leaf bases, but they all have their place. I prefer this for my more formal work.

Next the gold leaf gets laid. I teach a workshop in which you can learn the Ceninni method, but I also teach a second workshop where the bases are pre-made, so a little easier to work with. All those little flecks of gold? You can save them if you wish and grind them into gold powder. It takes a lot of flecks. I save mine over the years.

Below, I’m still in the rough and the lettering hasn’t been retouched with all of the little details, but you can get the basic idea.

As you can see below, the color goes on after the gold. There is a lot of layering to the color and it takes time. I like to do my lettering first, then do the color work. If I made a big mistake with my lettering, I would not like to have put all of the time into the border work.

I often have clients who want reproductions of the original. A graphic design quality scanner, Photoshop and a great archival printer does the trick. Below is the very large wide format printer that a photographer uses to print my larger designs and family trees. The Epson must be about 6′ wide or more. He didn’t want his picture out there, but my colleague is very good at what he does and I appreciate his assistance.

I had two large reproductions made and hand painted the gold areas with gold gouache. The original has the shiny gold on the bottom right D’Arches HP. I hope that this was helpful to you in someway. May God bless you and thank you for stopping by my blog!