-
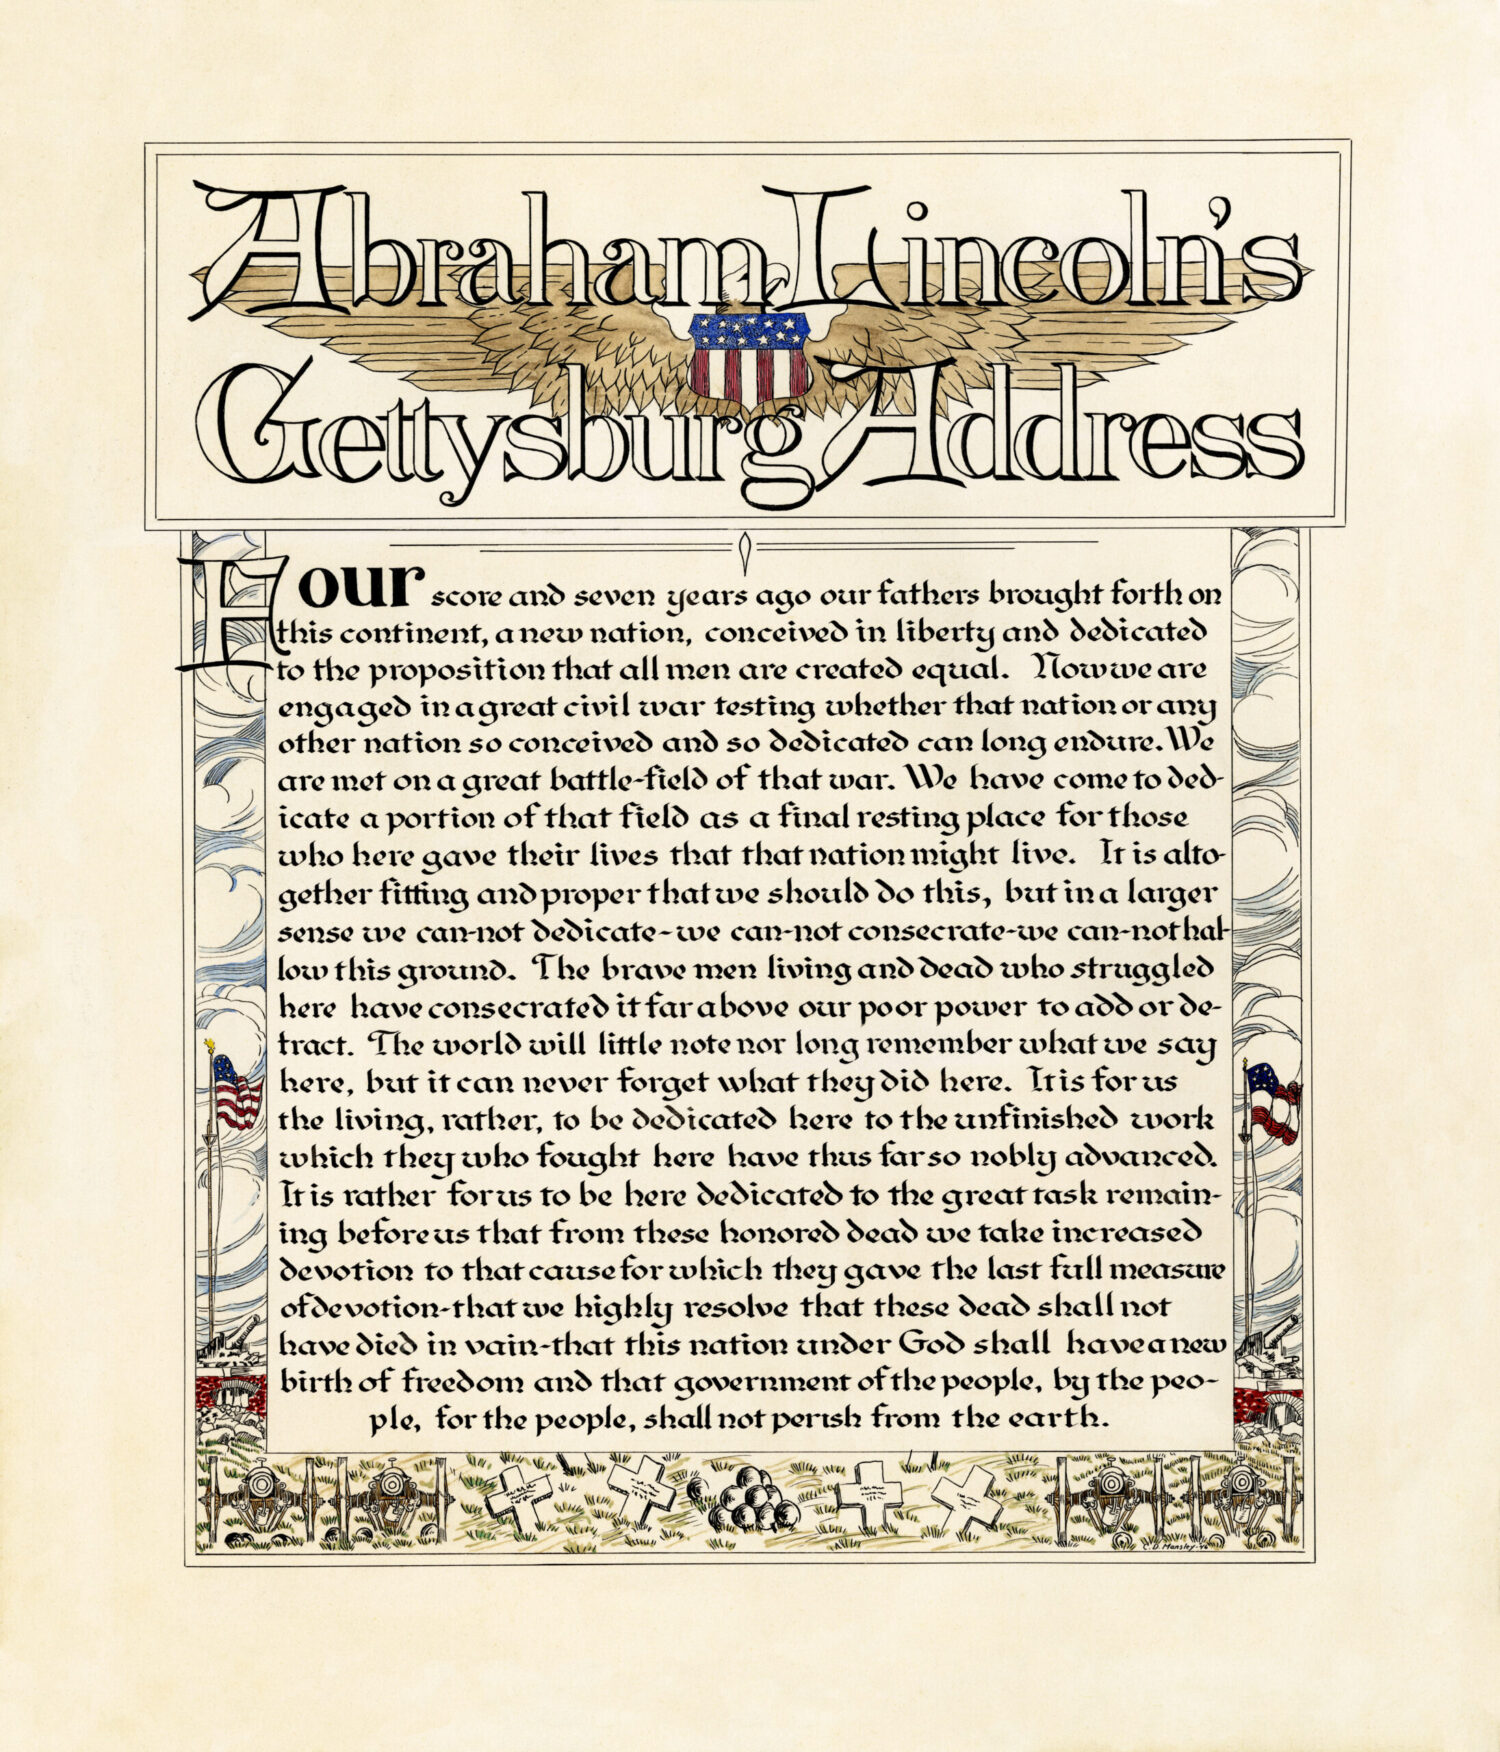
Patriotic Calligraphy hand lettered by a Veteran
Patriotic calligraphy still has meaning today! In this photo, my father Clifford Mansley, Sr. is a World War II Navy Veteran – age 17 or 18. He entered WWII in the last year and was put on a ship that made it through the war without a problem. He buddys’ ship was blown up. I…
-
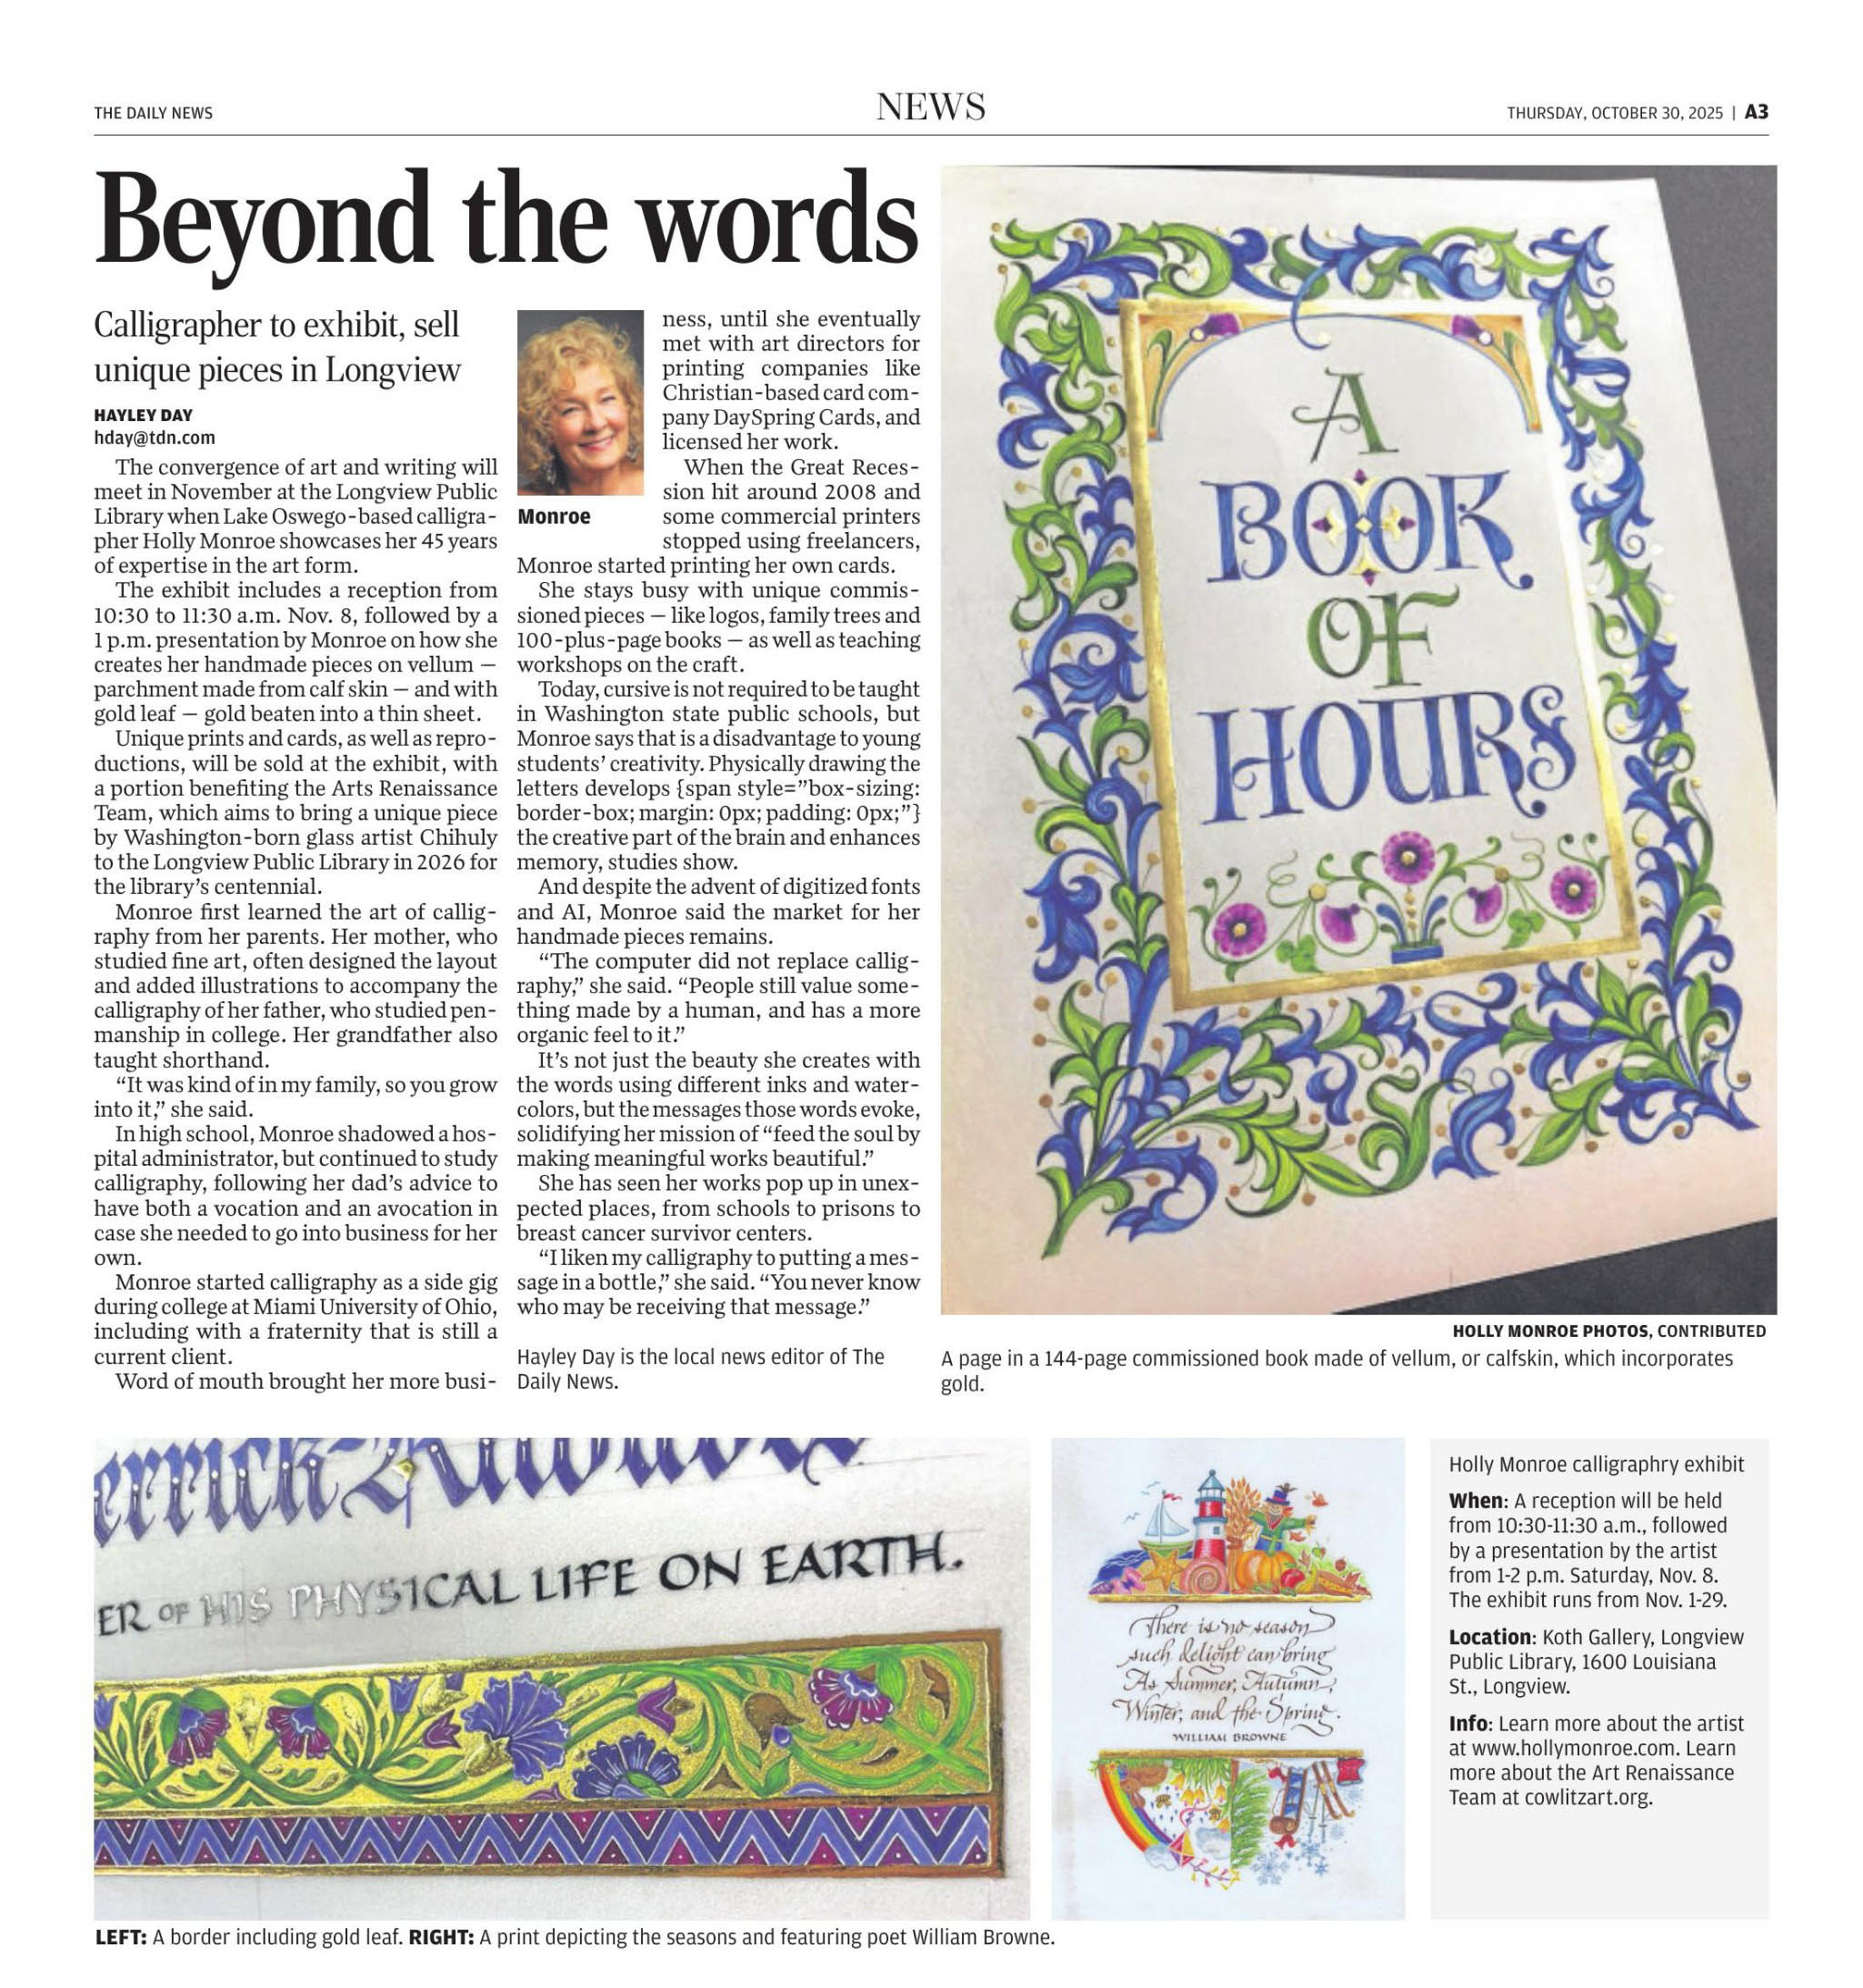
CALLIGRAPHY EXHIBIT & SALE, NOV 1-28, 2025
-
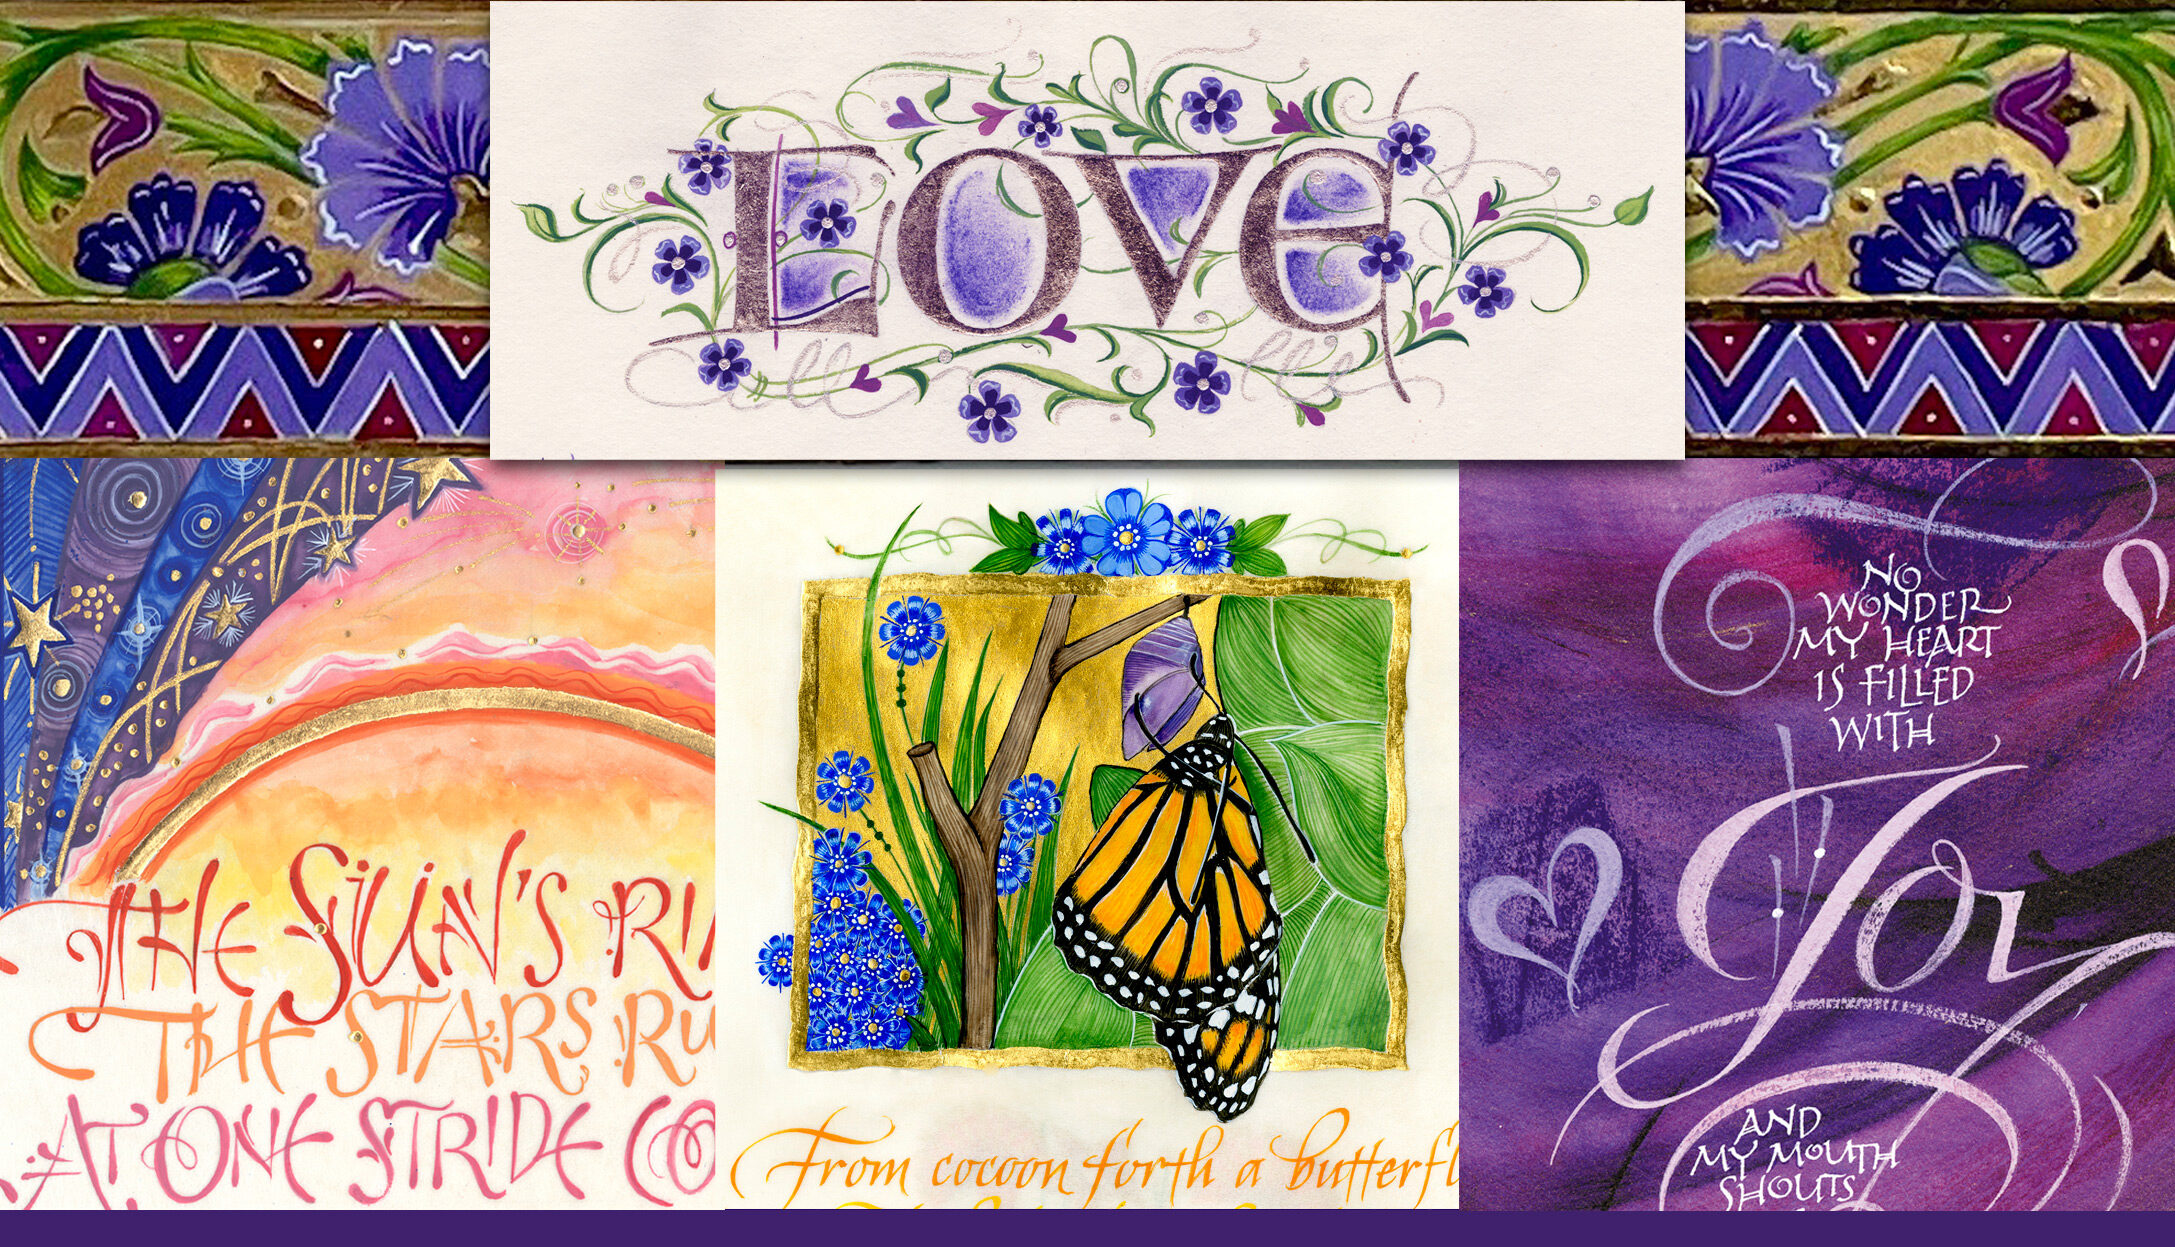
Lake Oswego Open Studios – September 26-28, 2025
-
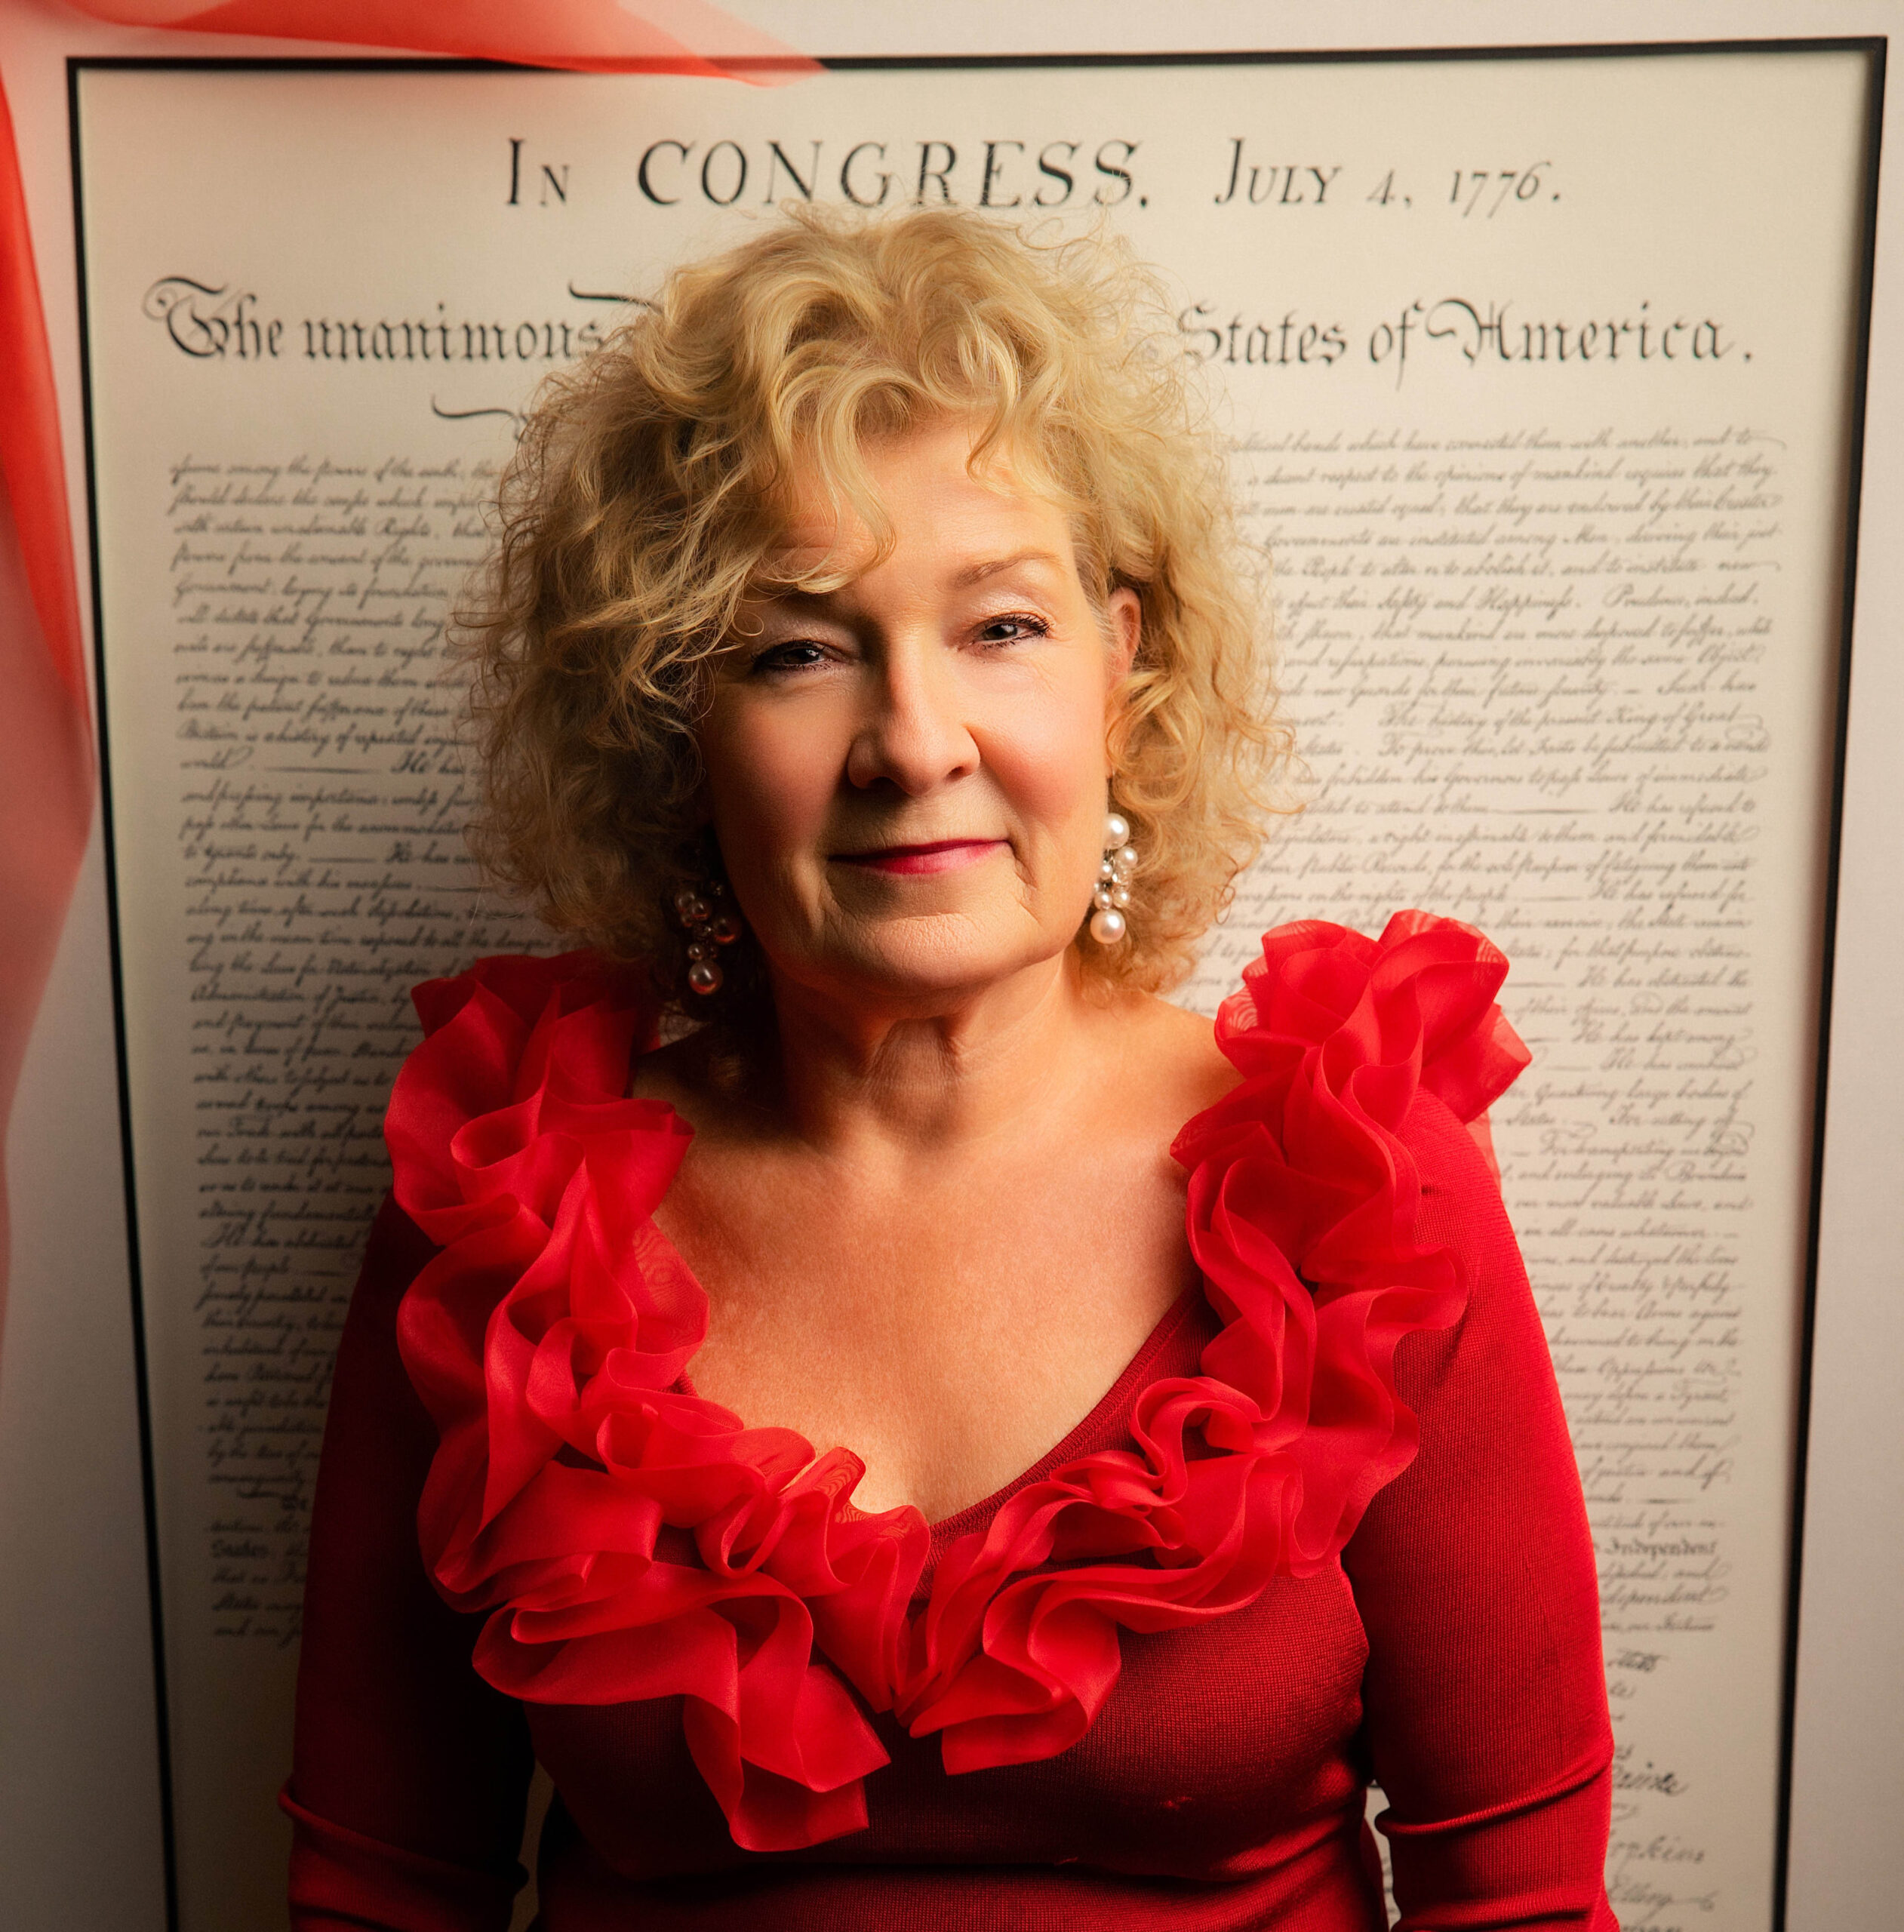
Our Nation’s Founding Documents Project
It’s still July, when we celebrate the United States’ independence, so I’ll squeeze in a little news on a past patriotic project of mine. About 15 years ago, Ryan Thelen came to me with a very different type of calligraphy project. A history teacher, Ryan had looked everywhere for life sized, genuine calfskin versions of…