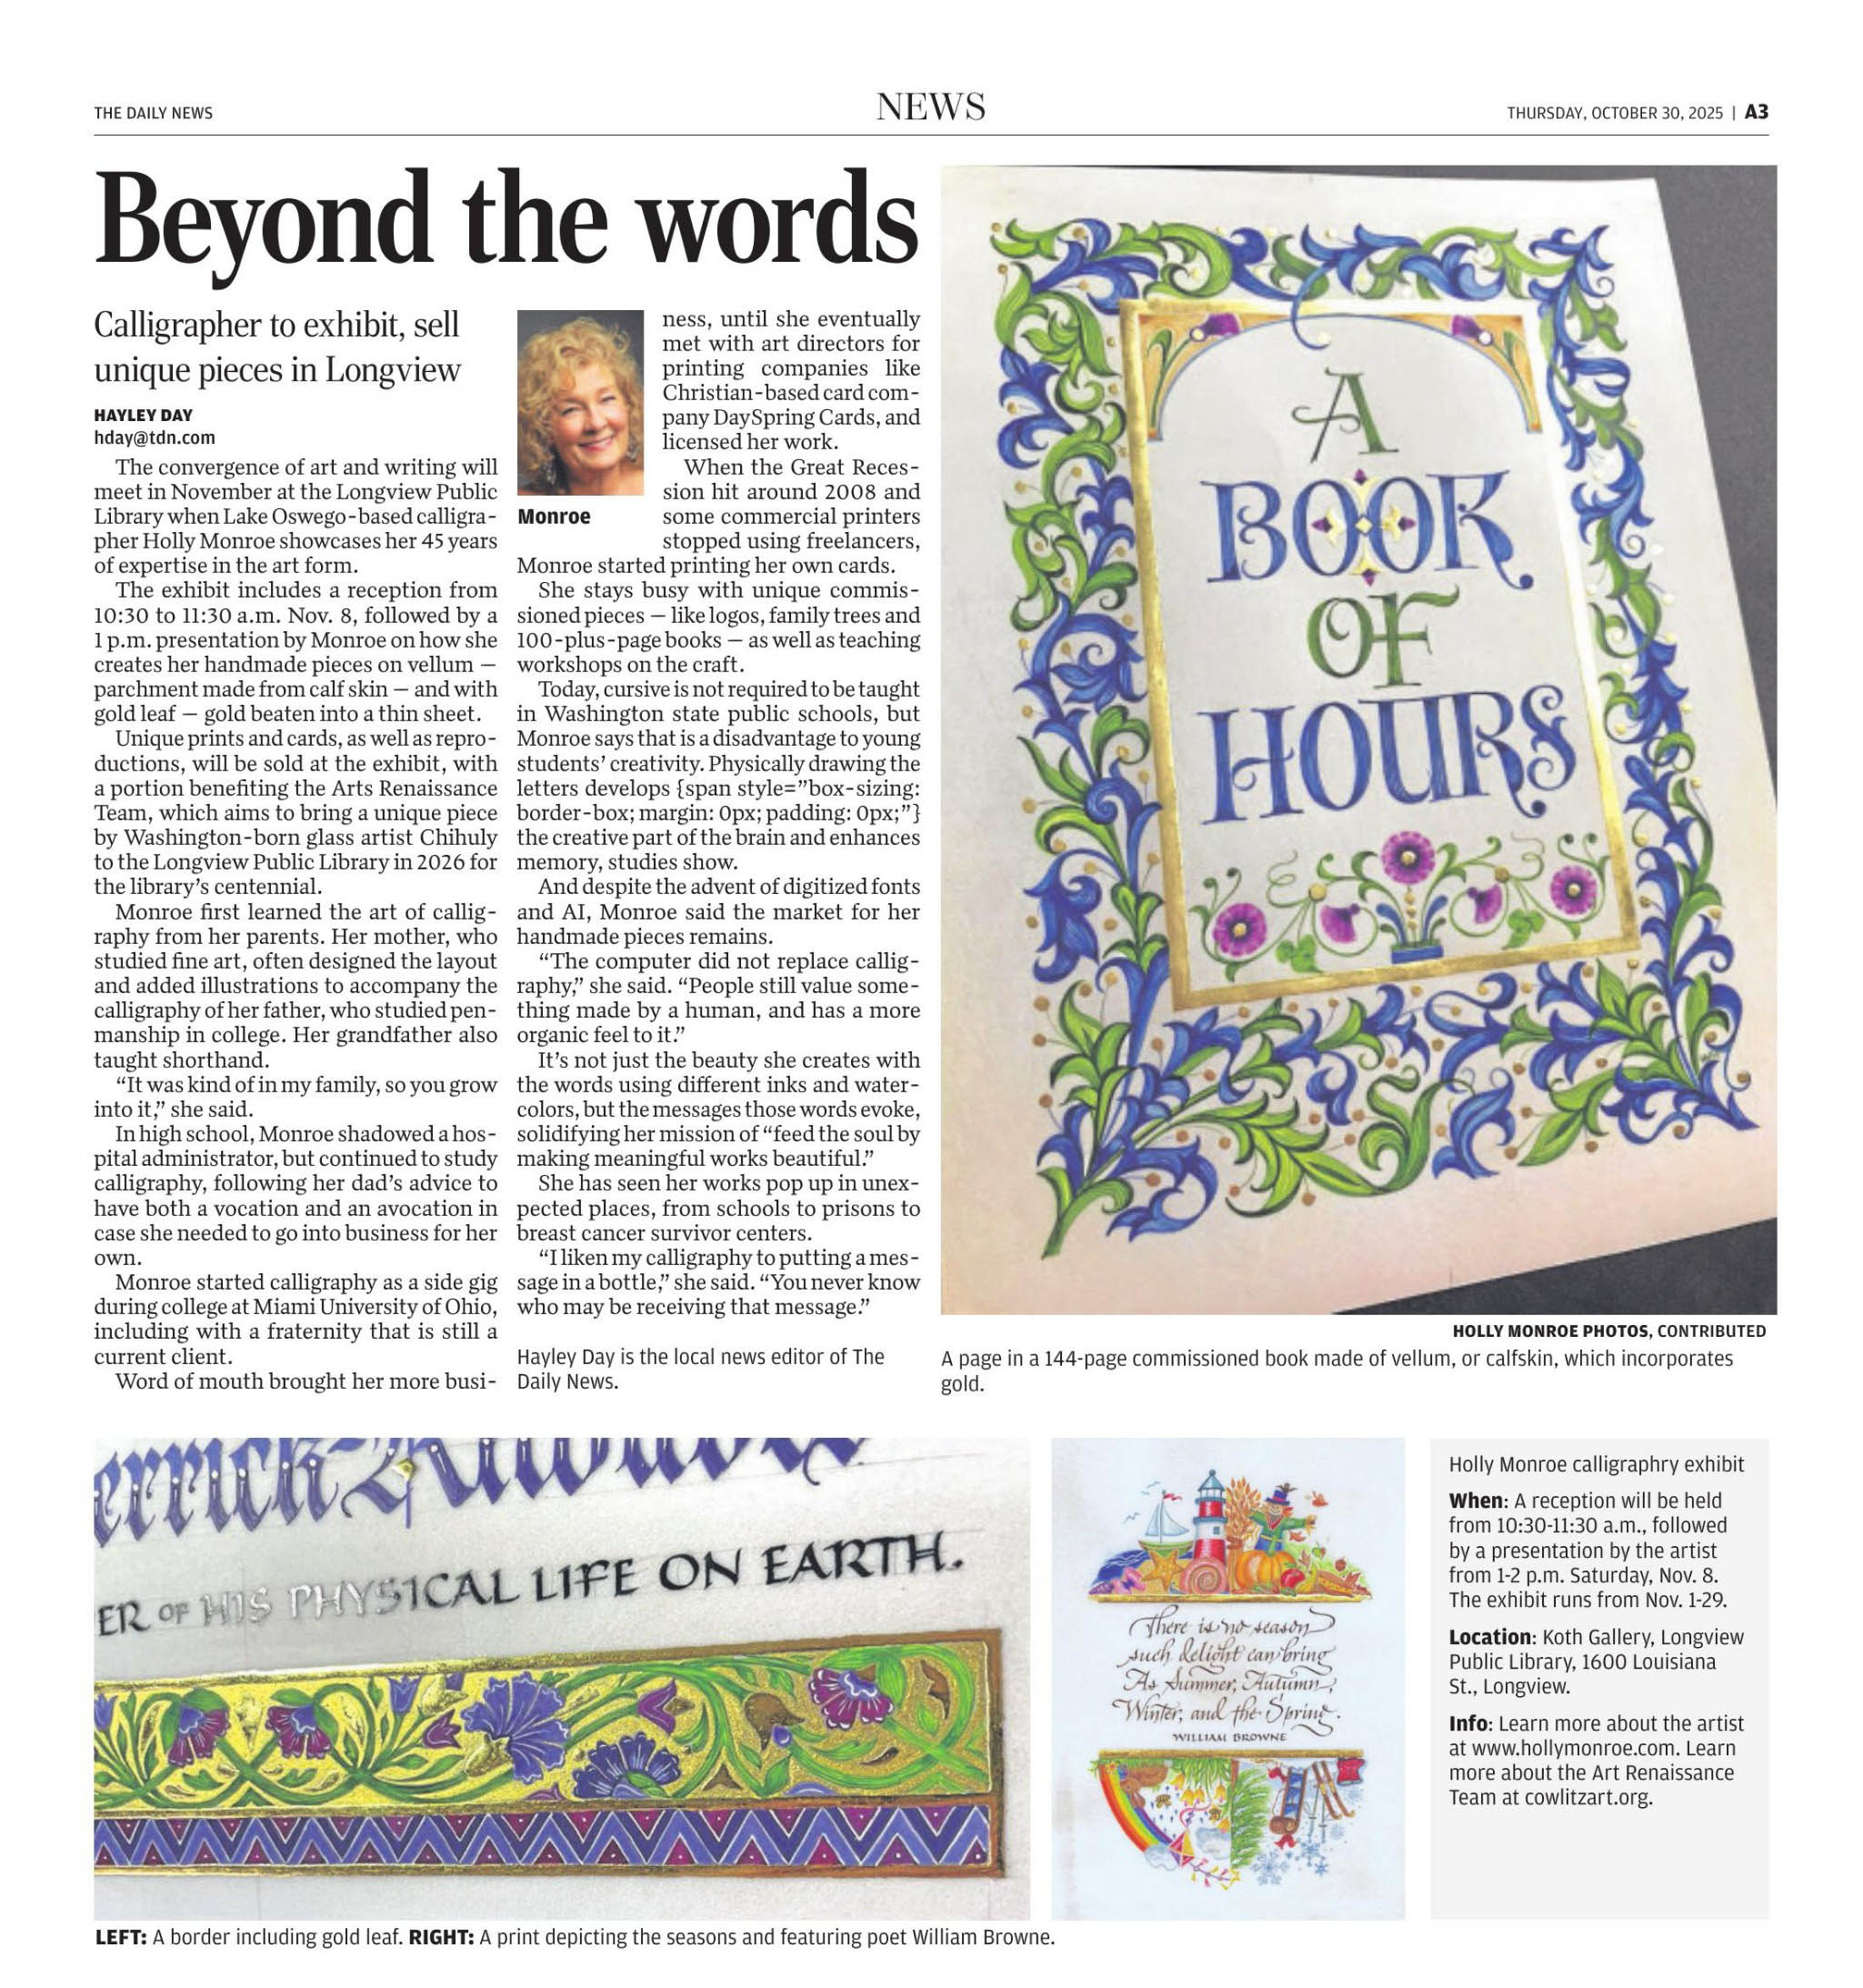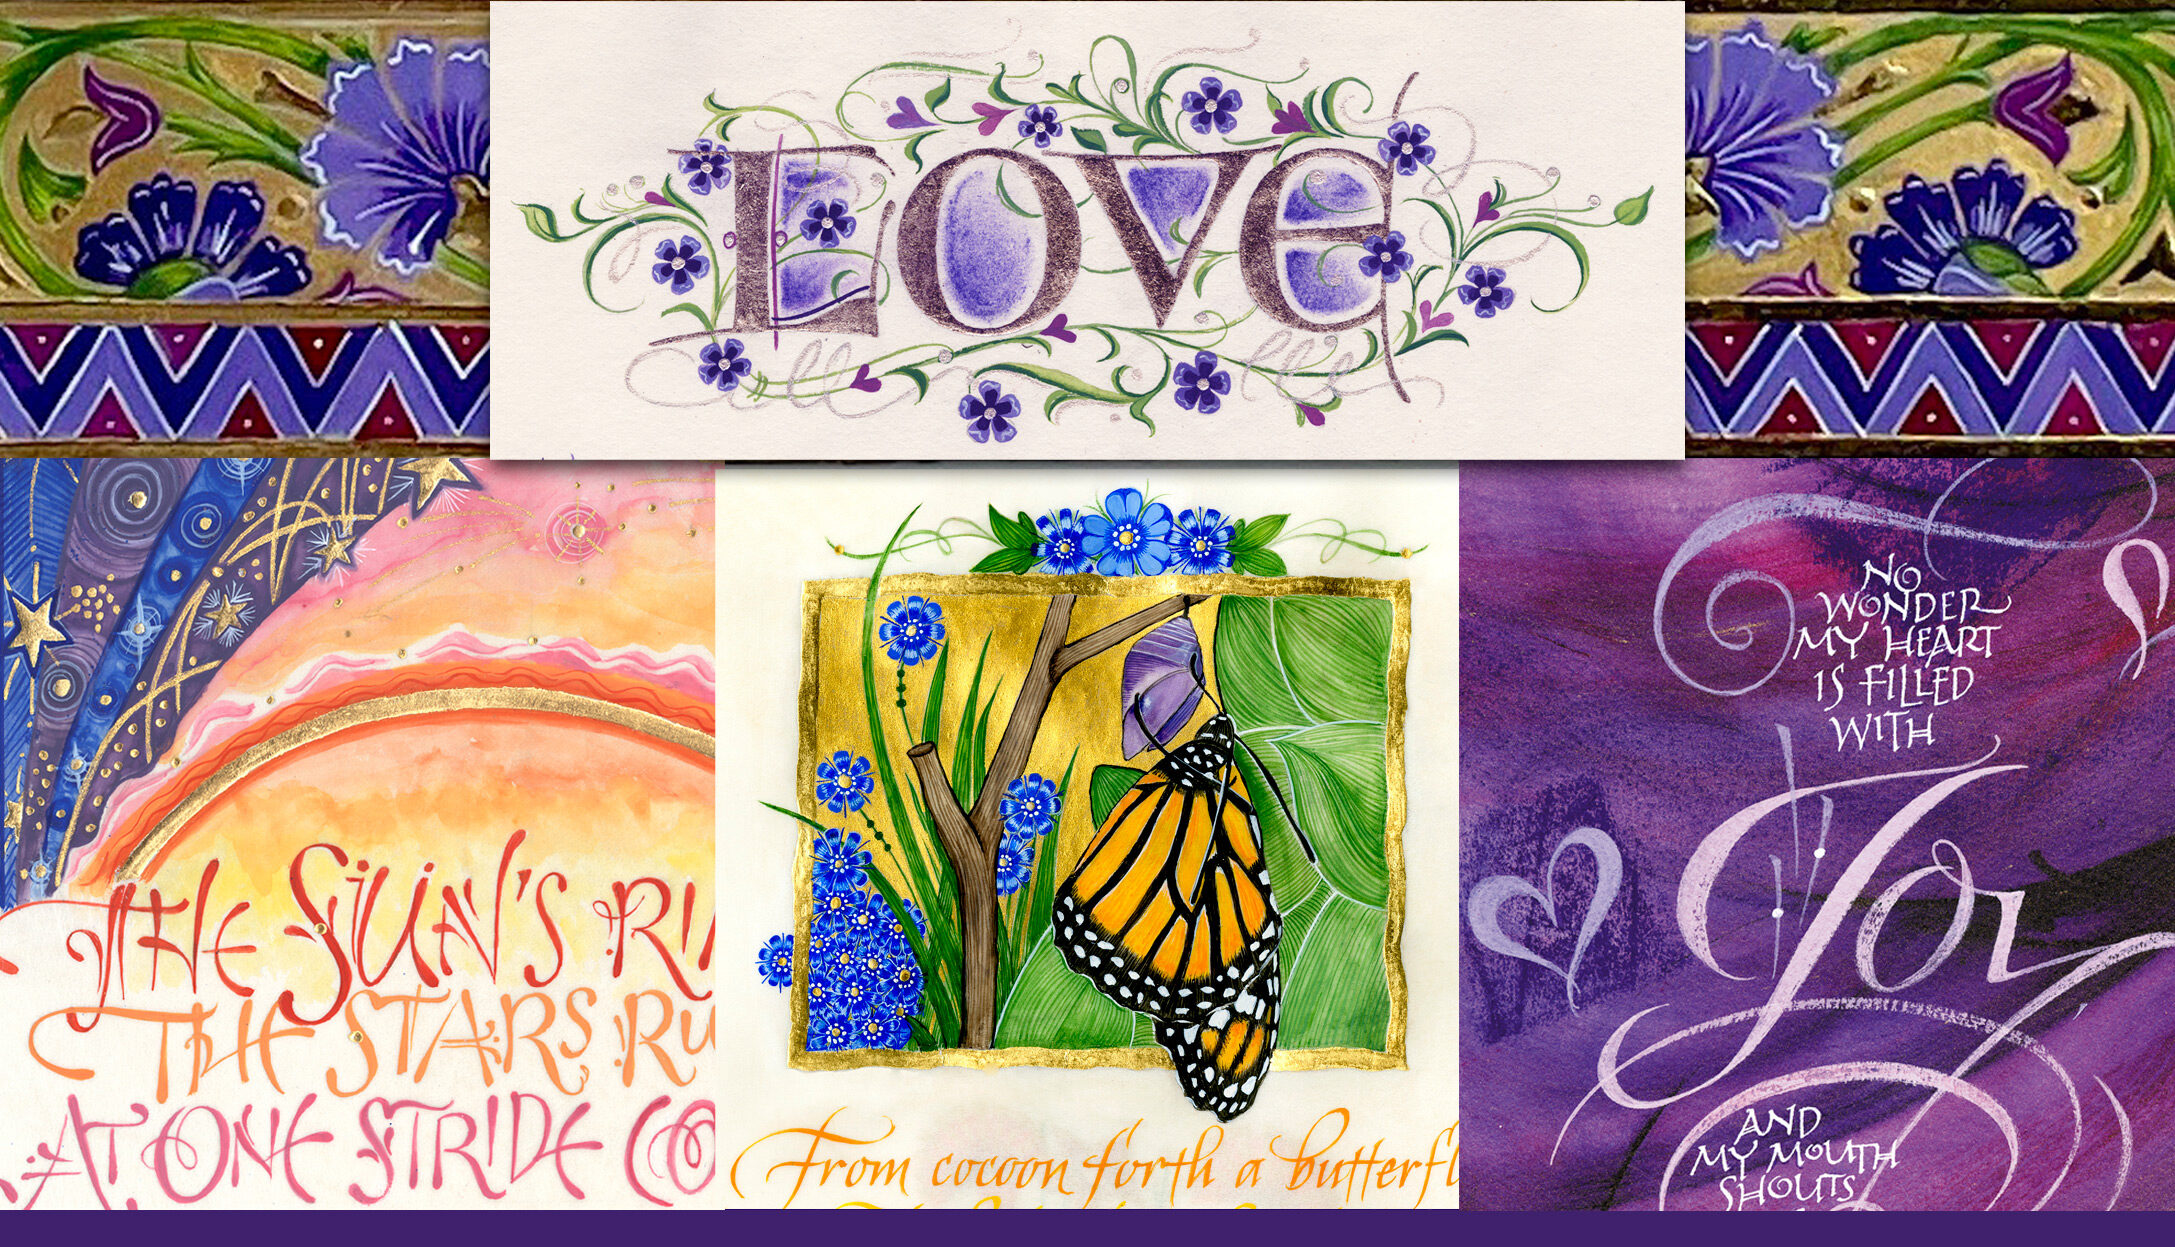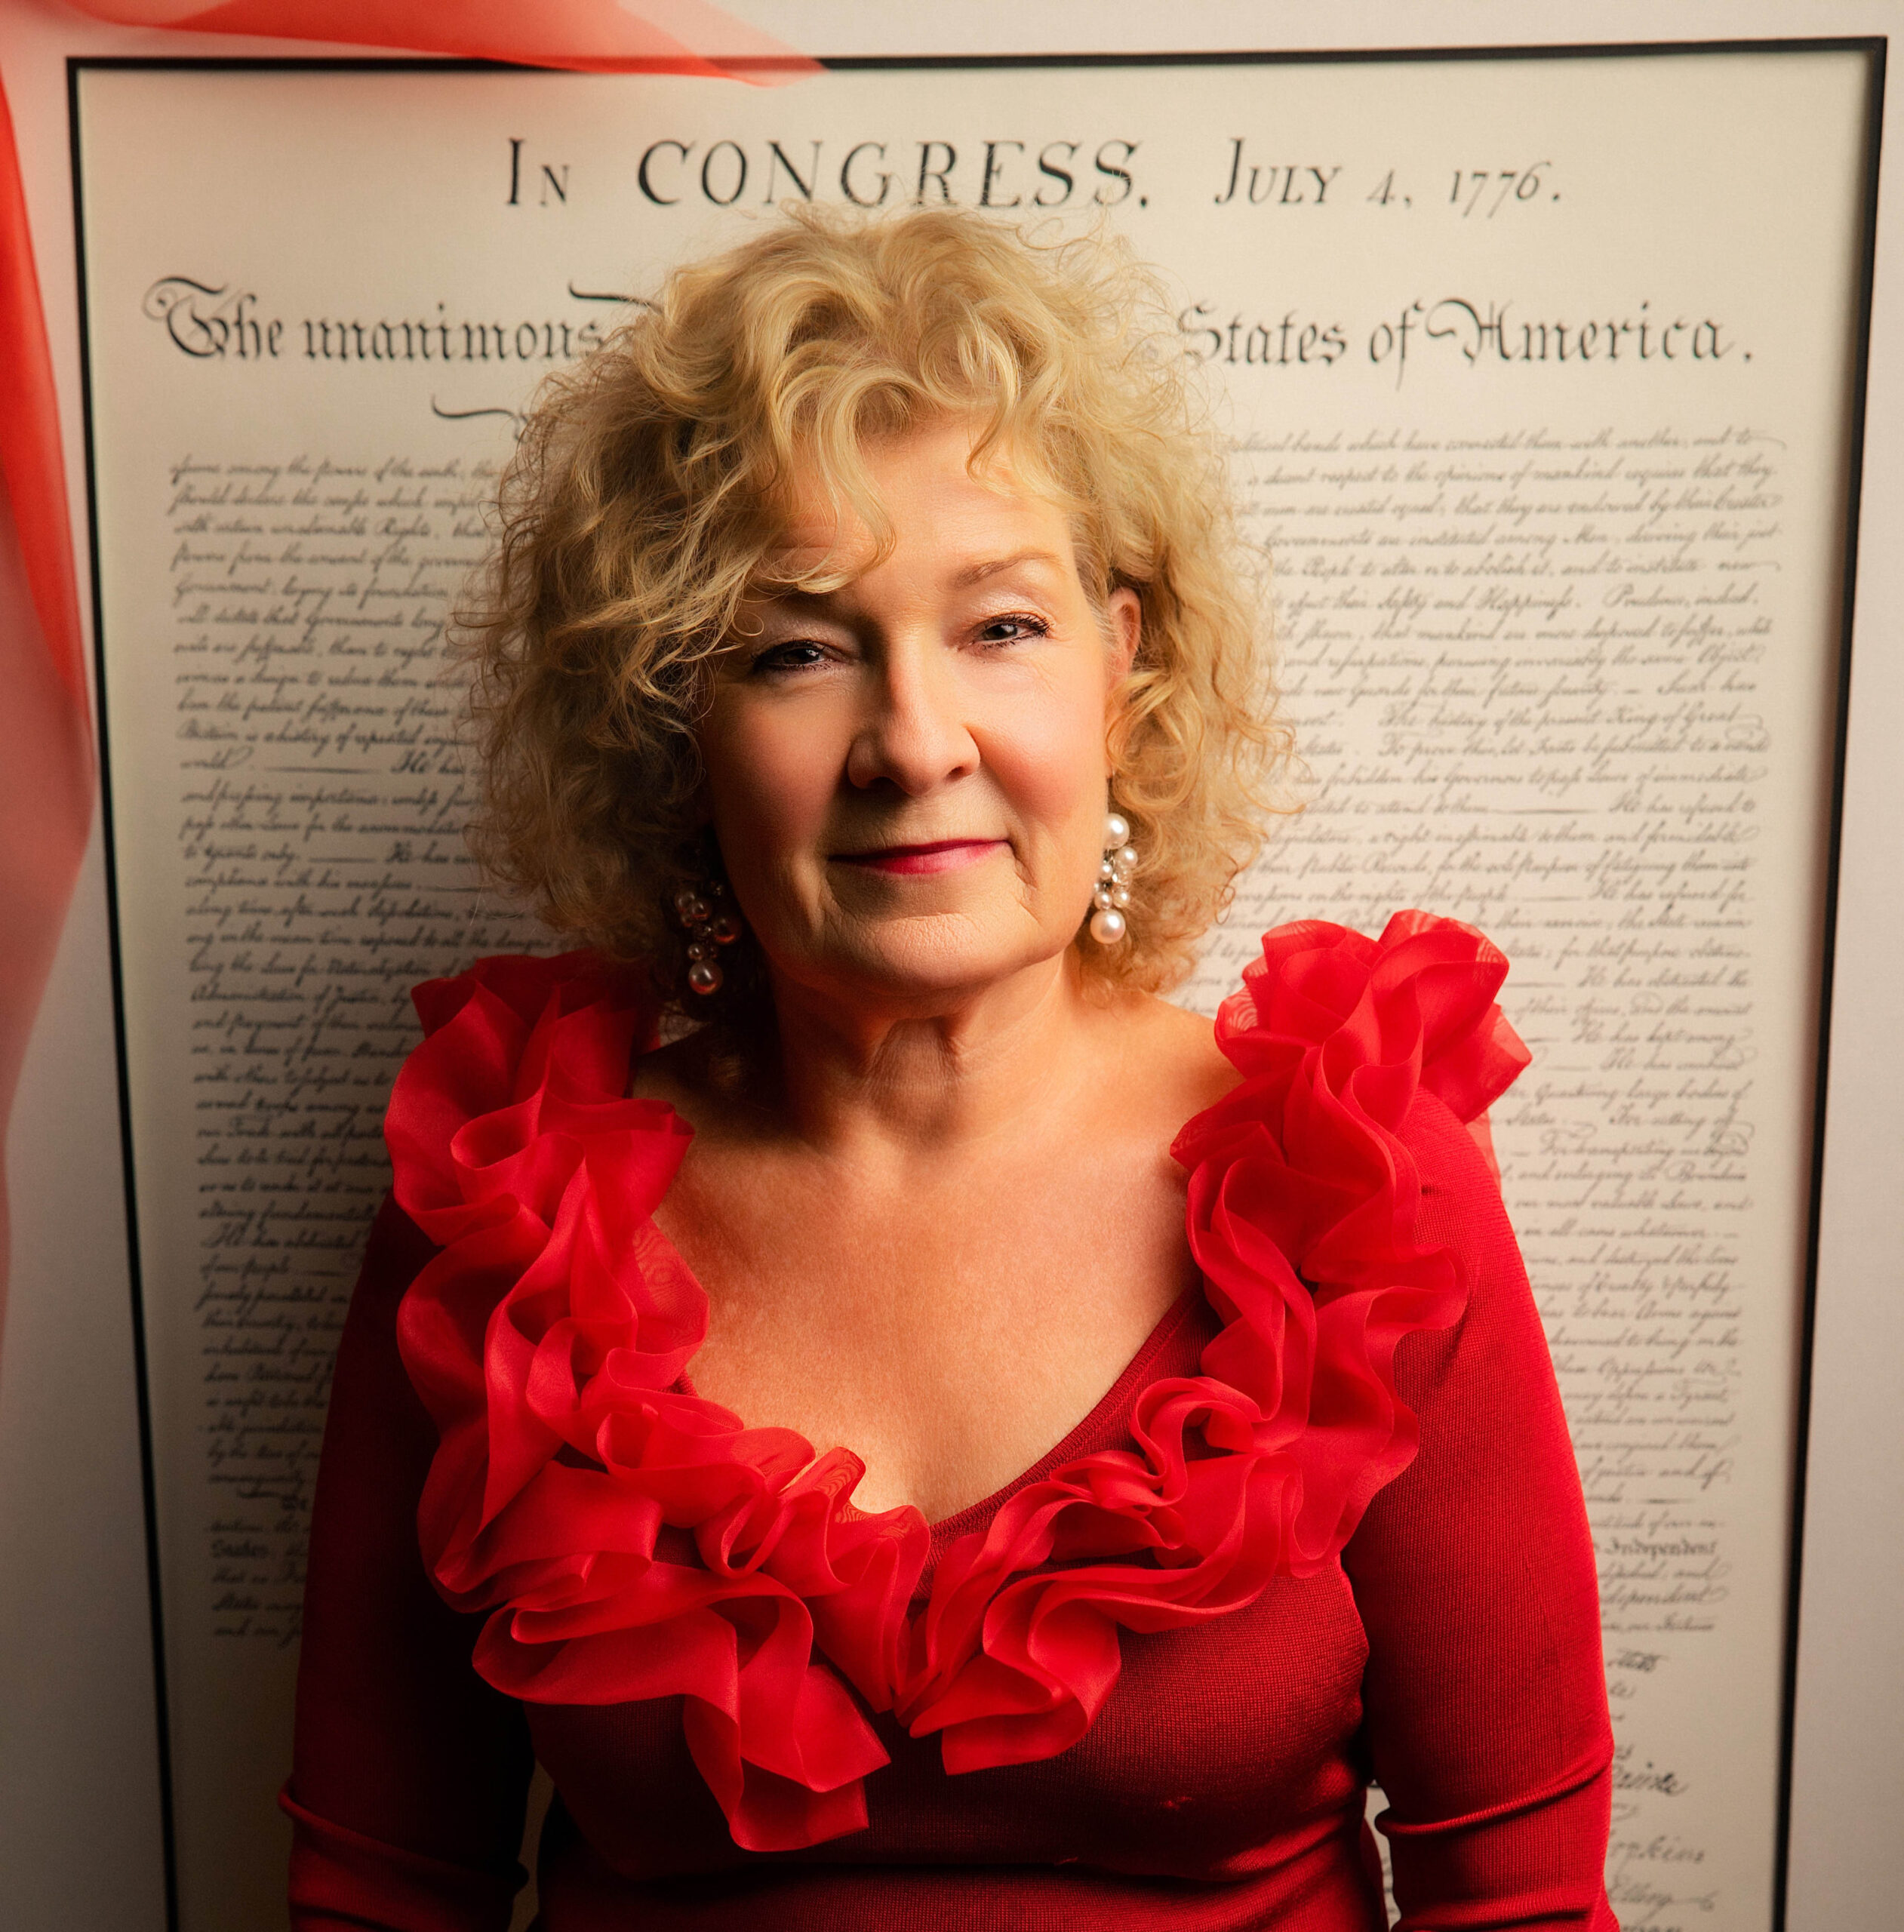
A little bit about the process….whether you are a client or a calligrapher, this will give you a peek.
Above, is the finished piece for my client. It is a verse that I read and meditated on throughout the project. In our then 2021 world, that was/is so very split, it was a challenge to mull over. How can I live this out? Love your enemies? Do good? Be merciful? Forgive? Could you imagine what the world would be like if we followed this?
Back to the artwork. Below…is my pencil sketch on tracing paper where I also indicate to the client, the color placement. The final pencil image was transferred onto the D’Arches HP 140 lb paper. You can improve the lines on the final. Just outline the vine. A light table makes it quite easy to transfer…(I have an extra light box that I’m trying to give to an artist or calligrapher…send me an email and I’ll send you a picture of it.)
On the final, first, I lay the gesso (base) for the gold leaf. It has a flesh tone, or pinkish color depending on how you tint it. I make my gesso from the original Ceninni recipe, guided by Jerry Tresser’s insights. It is like plaster, and can be repaired as you are working with it. Carved, shaped or sanded, it is more forgiving than some gold leaf bases, but they all have their place. I prefer this for my more formal work.
Next the gold leaf gets laid. I teach a workshop in which you can learn the Ceninni method, but I also teach a second workshop where the bases are pre-made, so a little easier to work with. All those little flecks of gold? You can save them if you wish and grind them into gold powder. It takes a lot of flecks. I save mine over the years.
Below, I’m still in the rough and the lettering hasn’t been retouched with all of the little details, but you can get the basic idea.
As you can see below, the color goes on after the gold. There is a lot of layering to the color and it takes time. I like to do my lettering first, then do the color work. If I made a big mistake with my lettering, I would not like to have put all of the time into the border work.
I often have clients who want reproductions of the original. A graphic design quality scanner, Photoshop and a great archival printer does the trick. Below is the very large wide format printer that a photographer uses to print my larger designs and family trees. The Epson must be about 6′ wide or more. He didn’t want his picture out there, but my colleague is very good at what he does and I appreciate his assistance.
I had two large reproductions made and hand painted the gold areas with gold gouache. The original has the shiny gold on the bottom right D’Arches HP. I hope that this was helpful to you in someway. May God bless you and thank you for stopping by my blog!