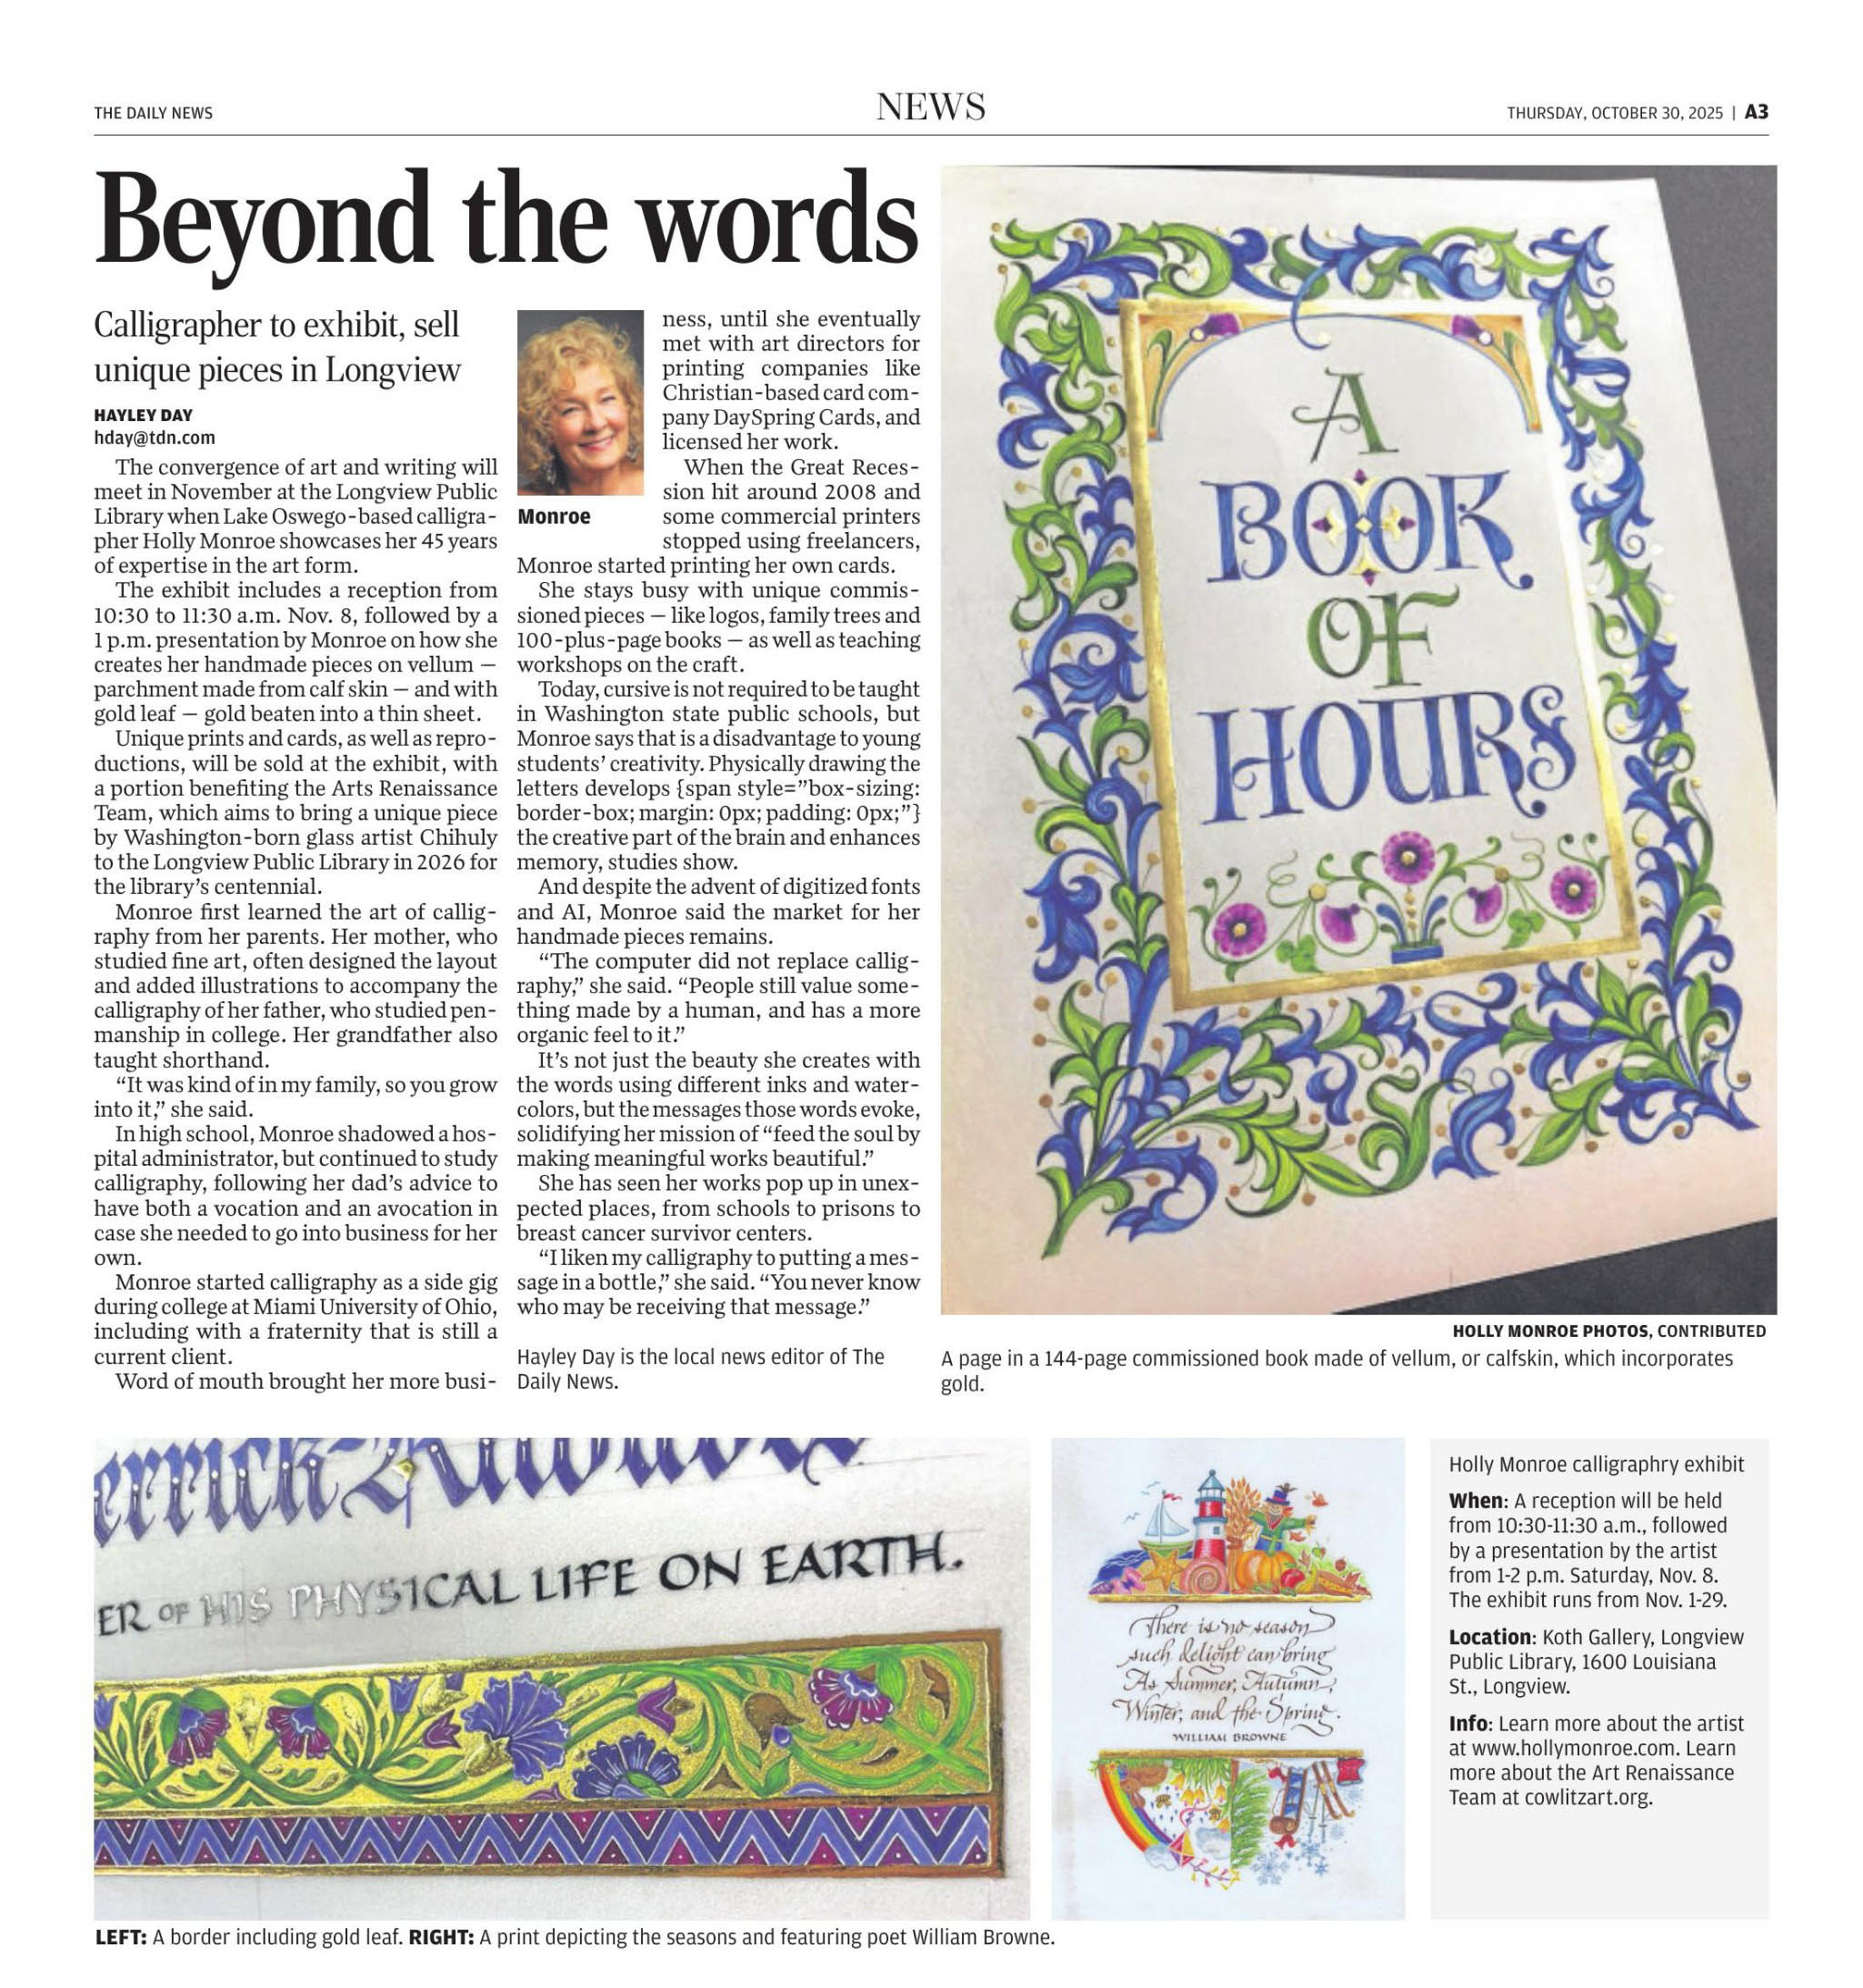
Calligraphy on Calfskin #2

And this my friend is the companion piece to MERCY, in my last blog post. It is The Man in the Arena, a famous speech that Theodore Roosevelt gave April 23 at the Sorbonne in Paris, 1910. Whether you agree with Roosevelt’s politics or not, his speech is an inspiration. In my mind, it’s about getting into the battle of life rather than sitting on the sideline. Making an impact for good in your country. To me, it is incredibly relevant in today’s world. (In the image below, you can see how I mount the calfskin for framing. These skins move with the humidity, so the threads are mounted like little springs that help to stabilize the skin in differing humidity.)

This design was created from approximately one third of the skin (the other two thirds used on the MERCY piece in my previous Blog post). To prepare the skin there are special grades of sandpaper used to smooth the surface and to remove oils. Then you pumice the surface and brush off the residue. Look closely as the images and see if you can see the beautiful texture of the skin.

Although you see the layout for my MERCY piece (above), The Man in the Arena calligraphy was lettered on the right (blank) side of the calfskin. It’s always nerve wrecking to cut these large expensive skins as I never want to make a mistake in measurement…but all worked out well!

Here you can see the famous title. My client requested that the design be straightforward, legible and not too fancy. As a lettering artist, I try to make it interesting. by using a unique style for the title and adding flourishes to give it flair. In my mind, the flourishes show the movement of a ‘man in the arena’ and they highlight the two nouns. I had a different lettering style on the line “It is not the critic who counts” and didn’t like it, so with my handy electric eraser I was able to remove the ink. Then I lightly sanded the area and put in the new line (Italic). Calfskin is so wonderful if you need to make a correction. Better than paper.

Gold leaf never shows well when you scan or photography from head on. I typically have to photograph at an angle to catch the glint of the gold. To tie the two designs together, I used the same Bookhand style for the main body, the same crimson color and gold leaf, but changed the titling style. This lovely lettering style was in an old Speedball textbook, but some of our modern scribes have updated it so that it’s better than ever – see the newest Speedball text book.

And here are the two finished designs together. I framed them with a black carved frame, linen top mat, crimson accent mat and a black beaded wood fillet in the inside window of the mat. Note, that calfskin never lies completely flat, but that is the beauty of it.

POINTED PEN VS. BROAD EDGED PEN CALLIGRAPHY

When I ask a client if they have a favorite lettering style, they often answer “I want calligraphy”. As I have learned, calligraphy is the umbrella word for lettering created by hand. It is defined as “the art of beautiful writing” and it encompasses many different lettering styles. That said, when a new student comes along and wants to learn ‘calligraphy’, I ask them, do you want to start with the pointed pen or the broad-edged pen. Many don’t know how to answer. They didn’t realize that there are two different basic types of pens that they can start with.

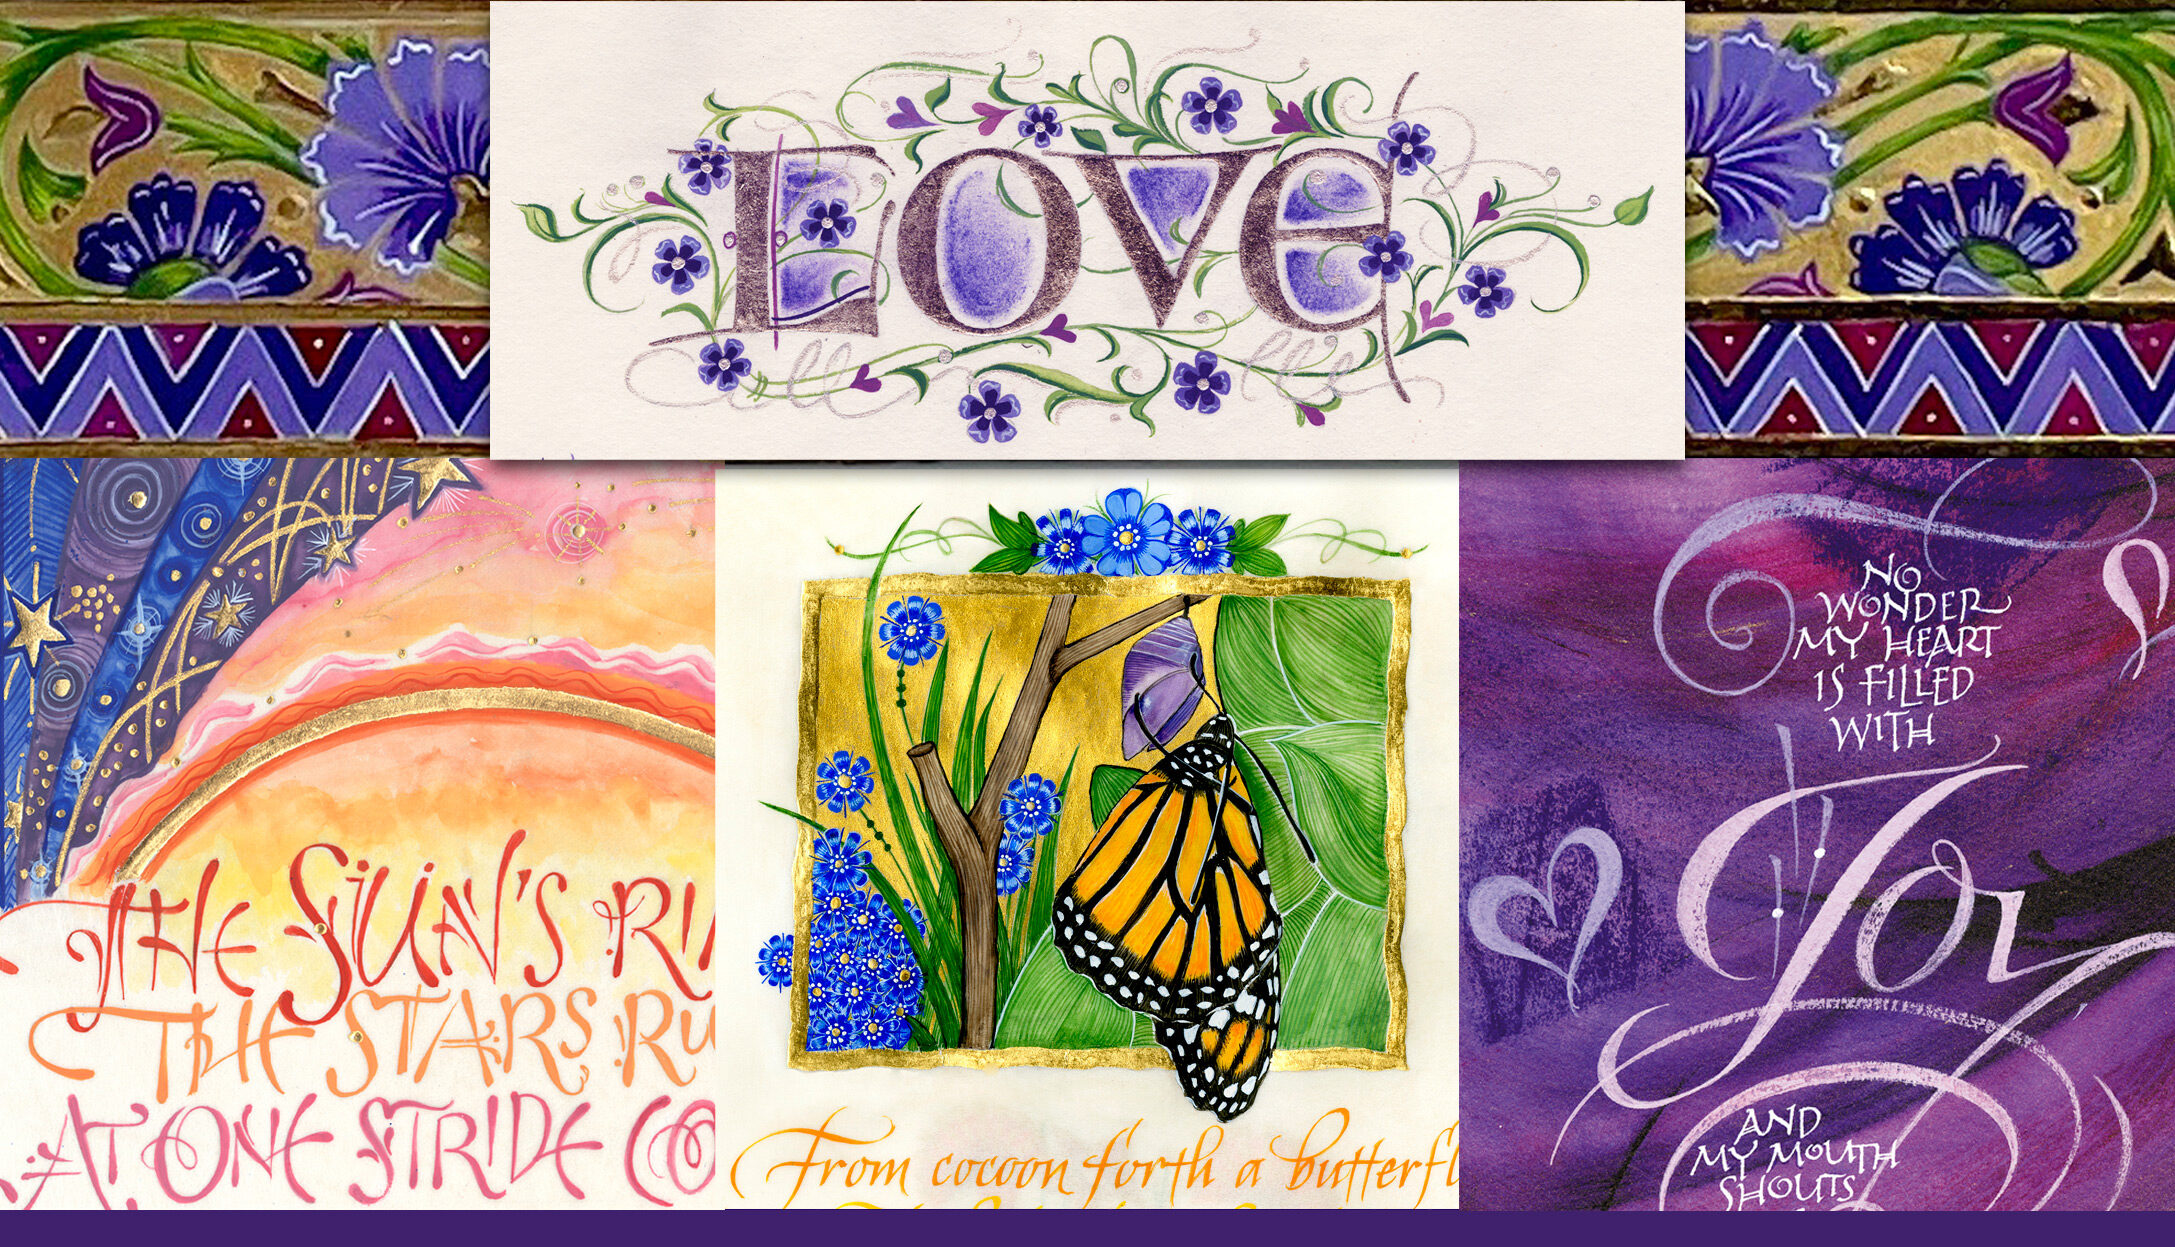
“Ostinato” in stylized script and “Love” in the Old English style on a handmade ‘paste paper’ background

When I was in high school, my father, Cliff Mansley, Sr. a former Zanerian student, started me off with both. I began learning Engrosser’s Script with the pointed pen and Old English with the broad-edged pen. The pointed pen that I use is known an oblique pen holder, (sometimes called an elbow pen) it can hold a variety of different pen nibs. April 23, 24, 30 and May 1, 2022 I am teaching a Pointed Pen Pizazz workshop – stylizing your lettering and flourishing via The Gentle Penman . Please sign up and join us, even at the last minute! I find that having a variety of these holders is helpful. I began with one, but because pen nibs come in various sizes, I soon purchased (or inherited) others. This way, I can keep the nibs that I frequently use, each in their own penholder. Below is a picture of a few of my oblique holders. From left to right: Sull pen, Hourglass Adjustable Oblique (you can tighten or loosen the screw) from Paper & Ink Arts, Đào Huy Hoàng pen made the pink/ivory pen from “Holly” wood (that’s why I bought it!), next a Bill Lilly pen gifted from David Ogden, 3 Zanerian pens (light wood from my father, dark wood from Steve Ziller, black plastic Zanerian). I should buy one of Heather Held’s beautiful handpainted holders to enhance this photo!

Pointed pen lettering looks something like this….with many variations!

The broad-edged pens that I use are in the picture below. I love to use the wooden double-ended holders because the Mitchell pens that I use are labeled 0, 1, 1.5, 2, 2.5, 3, 3.5, 4, 5, and 6. I can use 5 holders which keep all 10 pens at the ready for me to use daily.

Broad-edged pens
Mitchell pens in double ended wooden holders. Purchased through John Neal Books.

Below is a sample of broad-edged lettering. In this case, Italic. I’m teaching 2 Fantastic Flourishing workshops (with the broad-edged pen) this Spring 2022. One in Albuquerque and the other in Pittsburgh. Pick a class that fits your time zone! That first link goes to John Neal where you can buy supplies. You can also go directly to Escribiente for the Albuquerque workshop or to Karen Roberts, Karigraphy@gmail.com, for the Pittsburgh workshop. Keep reading….

Finally, I have a wonderful turntable pen/brush holder, so that I can easily find my pens. Note that I have labeled the sizes, for easy retrieval while I’m working. May God bless your life and I hope to see you in an upcoming workshop!

Bible Journaling

Cover of Bible Journaling Book Joanne Fink

Have you ever kept a diary or a journal?  You write your thoughts and experiences in a notebook in an effort to keep a record of your life…often to look back and marvel at the journey God has taken you on, or to pass down to the next generation. Bible Journaling is similar, only, as you read Scripture you pull out the phrases that are most meaningful to you, creatively illustrating and lettering them on pages of your Bible. The emphasis is definitely a memorable way to accent what God is impressing on your heart through His Word. (You can even purchase a new Bible that actually leaves space for your creations…if you don’t want to mark up your current Bible.)

Joanne Fink and Regina Yoder have kindly included some of my work in their new Bible Journaling paperback book, Fox Chapel Publishing, $19.99.  Click link to order. Read on…..

Their new book offers ‘how to’ instructions for design, illustration and lettering a Bible verse. They take you step by step, so whether you are a beginner or advanced, you have tips for making your pages meaningful, as well as attractive.  Included are sample pages from over 40 dedicated journalers, showing the diversity of artwork styles while offering inspiration for your pages. Below, see one spread from Karla Dornacher’s lovely section.

Friend and colleague, Joanne Fink decided to include some images from my collection, which expands the books’ focus from within the Bible pages, to lettering Scripture verses ‘Outside the Bible.’ In the section below, Joanne takes Proverbs 3:5-6 and compares the way that numerous artists, calligraphers or journaler’s have designed the same verse. See the book for the variety!

As you can guess, verses can be designed for greeting cards, framed art, books, walls of churches, businesses, homes, etc. You can choose where you want your art to appear – personally (in your Bible) or publicly. My focus has always been a more public application, since I have been active in business since around 1980. Below, you will see Bible Journaling’s two page spread of some of my work. On the left, it features my church wall work at Evangelical Community Church and Northminster Presbyterian Church, both in Cincinnati, OH and on the right page, 3 commissions in my collection. You will find larger pics and others in my www.HollyMonroe.com > SHOP+ > Prints > Scripture section of my website. Love and Serve, Know the Plans and Lord Provider, Jehovah Jirah.

Bible Journaling Joanne Fink Holly Monroe pages.

Two page spread of Holly Monroe’s calligraphy in new Bible Journaling book.

Lastly, I’m showing you the back cover of Joanne and Regina’s book, showing not only hand-created Bible pages from other artists, but also a list of the multitude of items included in their generous book. I believe this book will be an inspiration to adults and children, to artists/calligraphers/journal keepers who care about their walk with God, through His Word.

Bible Journaling Back Cover

Journaling has always been around, but artistic Bible Journaling is a new emphasis. I first encountered a similar type of this activity with friend and colleague Tim Botts, who would calligraphically illustrate a section of Scripture each morning, as he read his Bible. His sketches turned into his 20+ books, starting with “Doorposts” through Tyndale Book Publishers. Tim has certainly been an inspiration to me in my calligraphy career. Take a look at his work, if you haven’t discovered him yet!


The Modern Book of Hours Continues – pages 90 and 91

To my calligraphy friends near and far! Here is a little update on the Modern Book of Hours that I am working on. It is a book about the Passing of Time, Seasons, Seasons of Life on into Eternity. The pages shown below are pages 90 and 91.  In this blog post, I will give you a little glimpse of the process. More in future blogs. As some of you might know, my client commissioned a 144-page book project, that has taken me quite some time. Each facing page is to match and be as intricate as possible. It is a picture book, where each design can stand alone. (Reproductions are available). I will be making a Collection category of The Book of Hours images on my website in the near future. A few are posted in my SHOP now.

Now for the process…

The first image is the completed page. Calfskin with tiny strokes of watercolor and 23k gold powder applied and burnished.

img_6972

My client typed the wording that he desired and indicated whether it would go on the right or the left page. It was my job to imagine the creative layout for the illustration and calligraphy.

A pencil rough was the first step of the process. It took 2-3 years to conceive of all of the designs. In their intricacy, I would email them to my out-of-town client and he would ask for adjustments, I would rescan and when we settled on the design, I would file it away in my computer for future reference….it would then be transferred onto calfskin for the final gold and color work. On the right, below, is a sample of the pencil sketch with it’s final on the left.

img_6738

Below is what the calfskin looks like when I purchase it from Pergamena. It’s manuscript vellum, which I prefer for book projects. It is much finer than what I call Parchment (which I use for Broadsides or work that will be framed).

Full calfskin aka Parchment or Vellum

Full skin which is cut down to page size

Once the skin is prepared, I attach it to a board so it will lie flat while I paint it. By the way, the tape on the upper page/board, is typically not there. The skin had pulled away from the staples, so I taped it with Artists Tape. One mistake on my part was to have the pages cut down too small. As you can see, there is only about 1/8″ margin where the staples sit. I would have liked to have 1/2″ or more margin, which would later be trimmed off of the page. I thought I could get away without hydrating and mounting the skins, but after painting page 3, I realized that stretching the skins would give me a much better result in the end.

img_6699

Initially, I made a little paint chart, which helped me to stay on track with my colors. I’m not using all of them on the chart, but these little floret porcelain pallets will show you how I can go back and repeat similar colors on subsequent pages in the book. Using the same blues and greens, etc. gives some continuity, to a unique book.

img_6716

Below is page 91 in progress. Lettering still to be lettered. The 24k gold powder, which was burnished to give it some shine, was also debossed to create shiny little dots on the gold. The more detail the better!

img_6961

The little container with the lid, on the right, is the liquified 24k gold powder. I add distilled water and then a tiny drop of clear Elmer’s glue to help it adhere to the page. Pictured is one of my miniature Kolinsky hair brushes. This one is a 4/0. Very tiny. There is a line of ‘miniature’ brushes in the Series 7 line, which I found to be extremely helpful in getting the detail. (Many other pages have raised gold on a gesso base).

img_6732

And here you can see the agate burnishers. I use any of the 4 on various projects, but on this small page, I used the curved burnisher that is the second one down and the pointed one on the bottom for debossing the dots.

img_6728

And once again, below, is the final page. You have to angle the light just right to catch the glint of the gold. The pages will be removed from the boards and I will flip them over for pages on the opposite side. On to the next pages, which will have lettering to resemble Hebrew, wording from the Song of Solomon and the bust of a man and woman facing each other in ornate cloaks. Stay tuned!

img_6969

SpeedBall Textbook 24th Edition, Celebrating 100 Years

It’s Easter, and I’m late with this news, but last November 2015, just after I moved from Ohio to Oregon, the Centennial Edition of the Speedball Textbook, A Comprehensive Guide to Pen & Brush Lettering, 24th Edition, finally hit the market! Yah! My father Cliff Mansley, Sr. and I are both honored and grateful to be included among so many accomplished and inspiring lettering artists. I snapped a photo of our pages below and offer you a brief description, plus links to purchase the book.

Speedball Textbook, 24th Edition in which Holly Monroe and Cliff Mansley are both featured.

Holly Monroe and Cliff Mansley, Sr. showing off the cover of the 2015 Speedball Textbook, 24th Edition in which they are both featured.

For a little $15. book the Speedball Textbook, 24th Edition packs a big punch. Students of the written word can see a wide variety of lettering styles as well as fabulous finished examples from contemporary calligraphers of today. The added bonus in this edition, edited by Angela Vandalis and Randal Hasson, is that it salutes lettering throughout the last 100 years.

Speedball Textbook 24th Ed, Cliff Mansley calligraphy of I Corinthians 13

Love bears all things from I Cor 13. Cliff Mansley’s calligraphy in the Speedball Textbook, 24th Ed.

In the front you’ll find a fold out page featuring the covers of 24 past editions of the Speedball Textbook. It moves on to Tools, Tips and Techniques, lettering styles through the ages (pointed pen, broad-edged, brush, hand drawn, etc.), commercial lettering and so much more. If you’re a lover of letters you’ll want a copy! Order from www.JohnNealBooks.com or www.PaperInkArts.com two small businesses that cater to the Lettering and Book Arts community.

Speedball Textbook 24th Ed with Cliff Mansley flourished title

Bottom right: Flourished title of a poem about Scout Leader’s Wives. Lettering/Flourishing by Cliff Mansley, Sr.

Speedball Textbook 24th Edition featuring Holly Monroe's flourishing instructions.

Holly Monroe’s mini-course in flourishing appearing in the Speedball Textbook, 24th Edition, 2015, page 55. For a more comprehensive weekend workshop, FANTASTIC FLOURISHES, contact Letters@HollyMonroe.com.